React Roadmap Series 3 - Create React App & React Router


Introduction
Navigating through different views and components is a fundamental aspect of building modern web applications. In the React ecosystem, React Router stands out as a powerful tool for handling navigation seamlessly. This comprehensive blog will take you on a journey from setting up a React app to mastering the intricacies of React Router, ensuring you can build dynamic and engaging single-page applications (SPAs).
I will be using Visual Studio Code and npm to create out first React application. If your are using other package managers like yarn or npm-compatible package manager like bun, kindly alter the commands as needed. You can also make use of React frameworks like Material UI, Chakra UI, Tailwind, Bulma and many more. I will be using Chakra UI in our upcoming topics.
Create React App
Create React App is often favoured for its convenience, especially for beginners, as it abstracts away much of the initial setup complexity.
npx create-react-app react-roadmap-app
cd react-roadmap-app
npm start
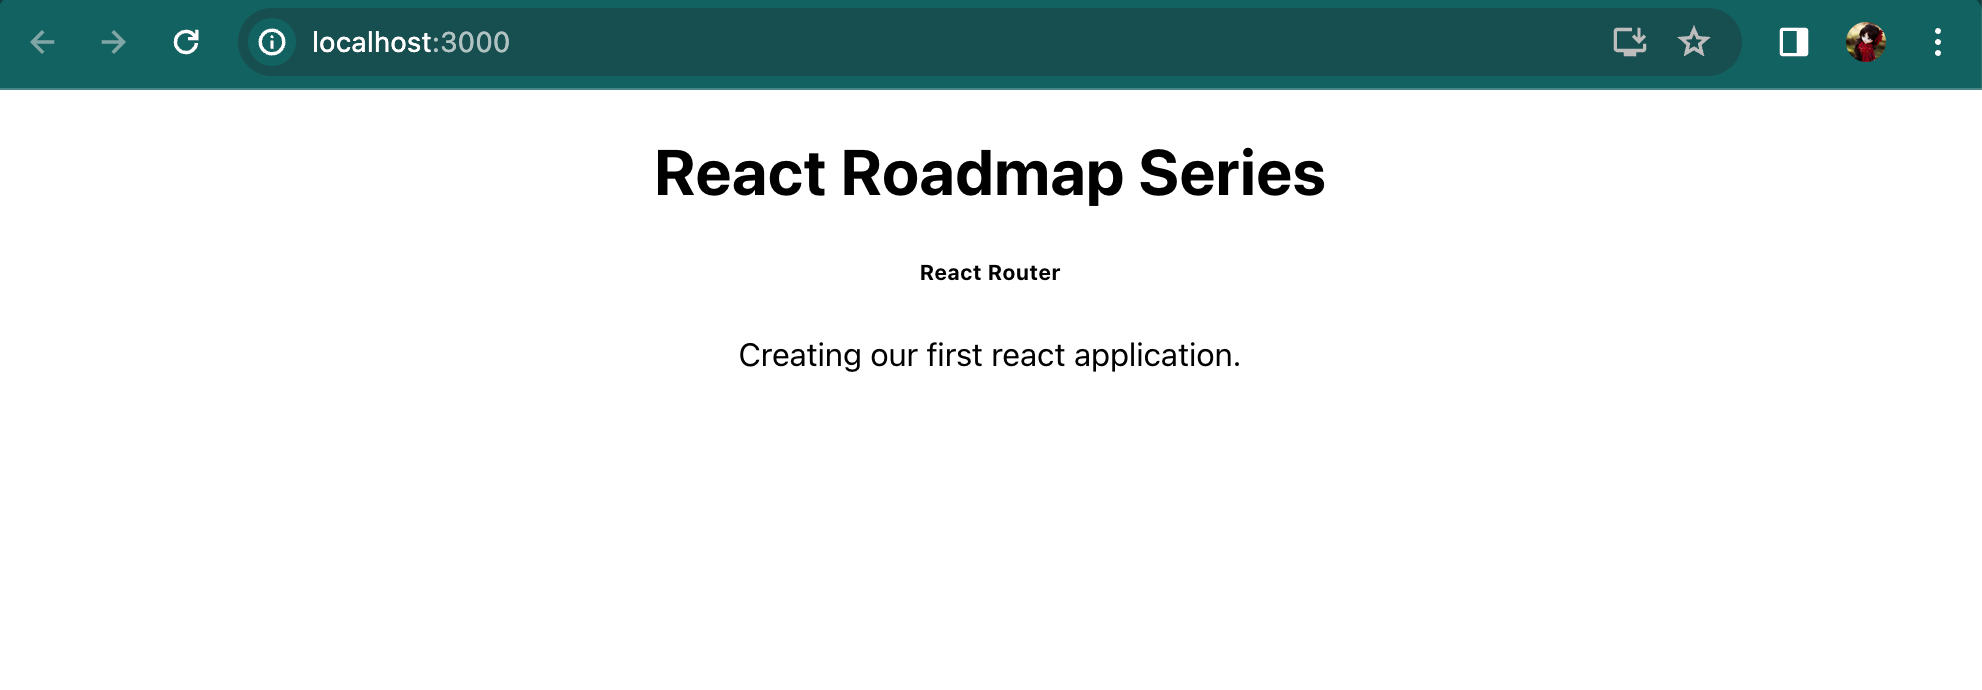
When you run the create-react-app command with npx, it fetches the latest version of create-react-app from the npm registry, uses it to scaffold a new React project with the provided name and installs all the necessary npm modules specified in the default configuration. Then we are switching to the respective directory and can start our application. When started, our react application will look as shown below.

Replace the below code in your App.js file and run the application.
function App() {
return (
 <div className="App">
   <h1>React Roadmap Series</h1>
   <h6>React Router</h6>
   <p>Creating our first react application.</p>
 </div>
);
}
First Component
While creating an application, code optimization should be considered for the best performance of that application. As React is popular for its component-based architecture, let's create our first component.

In our previous code, we handled it all in App.js file. Here, I created components folder and a new HomeBanner.jsx file. While writing a component we should export the respective function as shown in the above image. This will help us to reuse the component by importing it at required files. Here, I have imported the HomeBanner function in App.js file and used it efficiently. The output will be however similar to our previous code and that is the beauty of it.
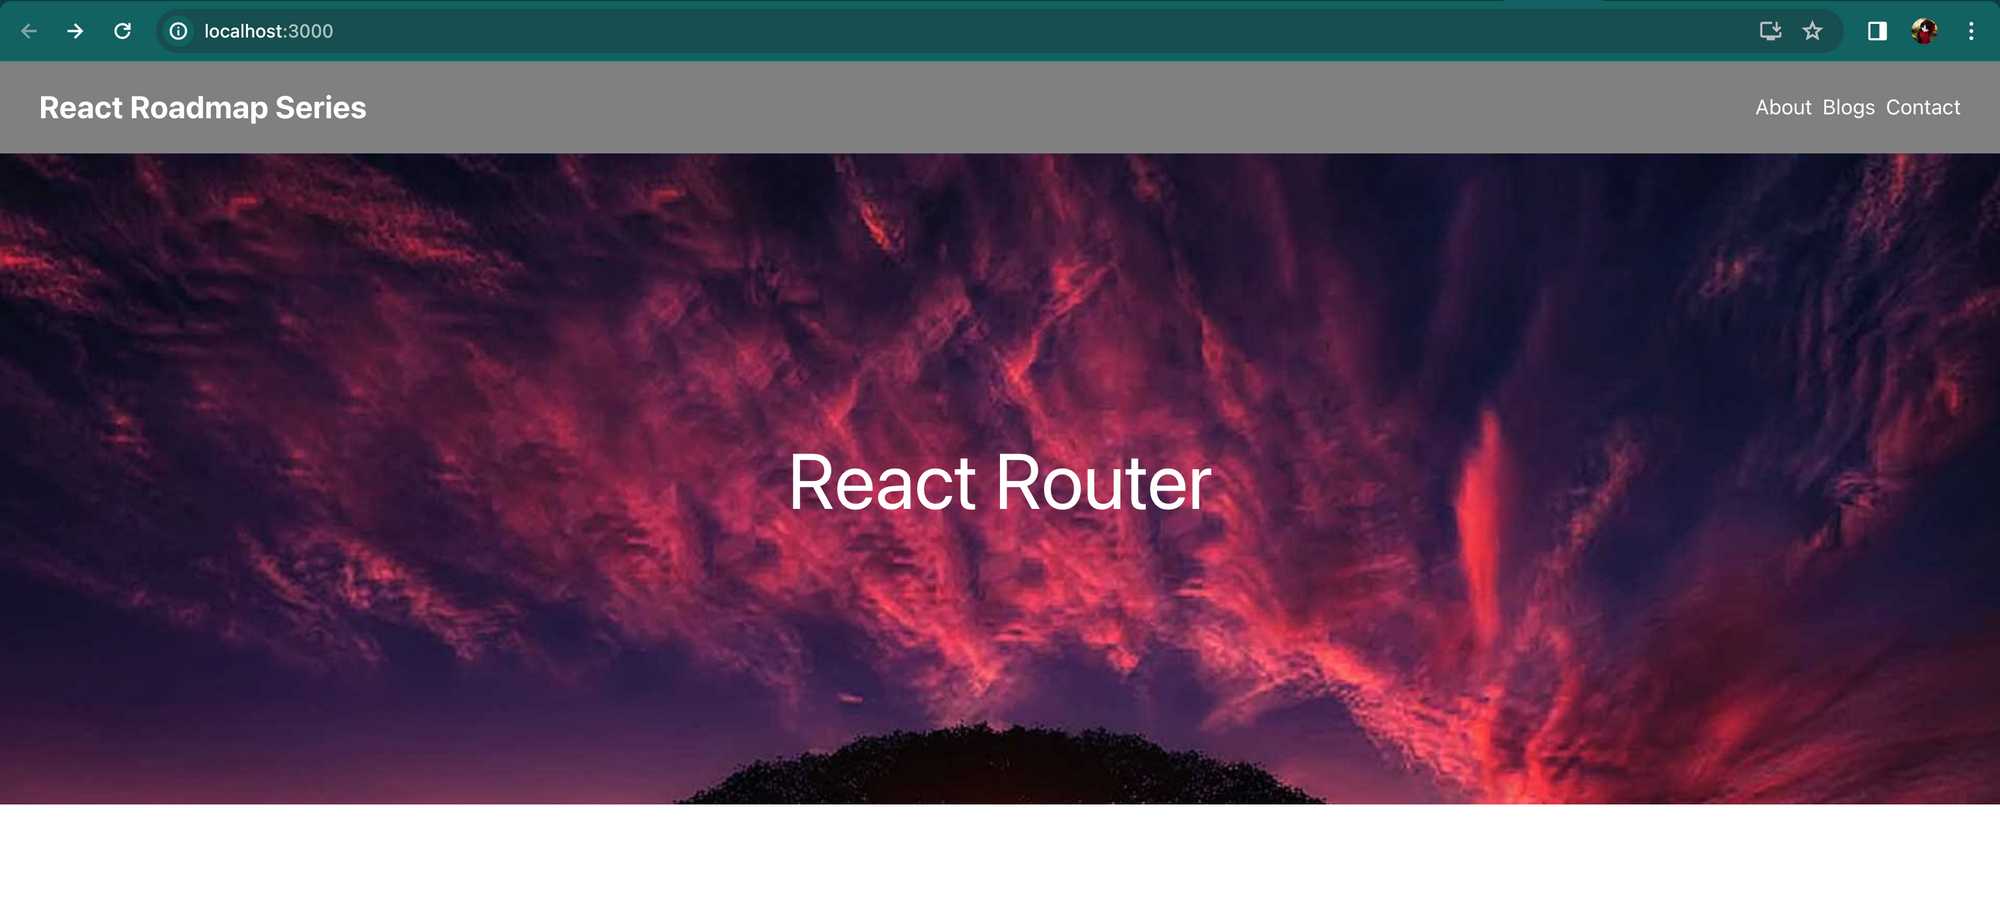
Let us try out a single page design as shown in the below image.

The above will return a simple navbar component in React. Instead of using this, we can switch to utilize React frameworks, which will speed up our development process.
Chakra UI
npm i @chakra-ui/react @emotion/react @emotion/styled framer-motion
Run the above command to install Chakra UI in your project.

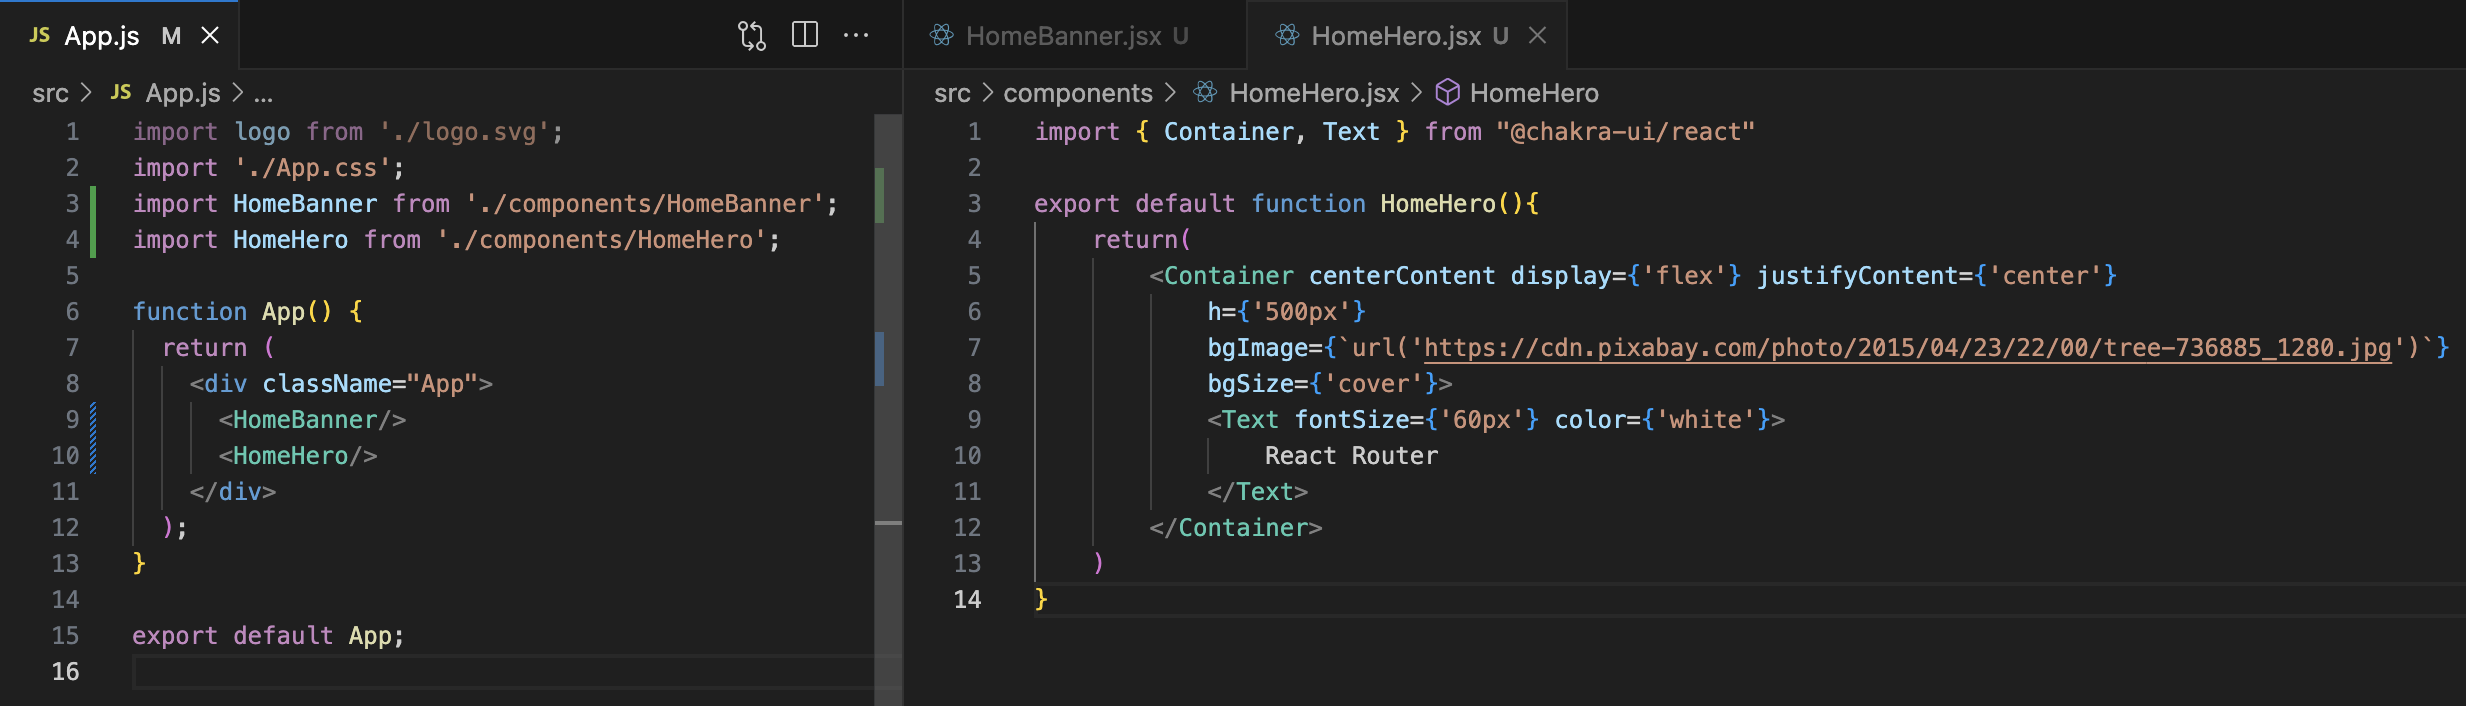
I have changed our previous React code by utilizing Chakra UI components. Overall, we have created a navigation bar with three links. Lets add an image to our home page.
React Router
npm install react-router-dom
Install React router to your project using the above command. All your installations will be reflected in your package.json file.
The react-router-dom package provides several components to facilitate navigation and routing in React applications. Some of the key components include:
- BrowserRouter: The heart of React Router is the
BrowserRoutercomponent, which wraps your entire application. Provides the common infrastructure for the router and renders the children elements. - HashRouter: Uses the hash portion of the URL to keep your UI in sync with the URL.
- MemoryRouter: Keeps the history of your "URL" in memory and does not read or write to the address bar.
- NavLink: A special version of the
<Link>that will add styling attributes to the rendered element when it matches the current URL. - Link: Provides a declarative, accessible way to navigate around the application.
- Route: Renders some UI when a location matches the route's path.
- Switch: Renders the first
<Route>or<Redirect>that matches the location. - Redirect: Navigates to a new location.
- Prompt: Renders a modal dialog that prompts the user for confirmation when they try to navigate away from a page with unsaved changes.
- RouteConfigComponentProps: Provides properties for route components to access route information.
These components work together to create a comprehensive routing system for React applications, allowing developers to manage navigation and UI changes based on the application's URL. Each component serves a specific purpose, contributing to the overall functionality of the router.
Link
In HomeBanner.jsx file, we used Chakra UI's Link component. We can replace that with React's Link component as given below. Both the functionalities will be similar.
<Link to="/about" style={navLinkStyle}>About</Link>
<Link to="/blogs" style={navLinkStyle}>Blogs</Link>
<Link to="/contact" style={navLinkStyle}>Contact</Link>
BrowserRouter
Let us do some changes to our previous code. We are going to create a folder called pages and create two files by names Homepage.jsx and About.jsx.
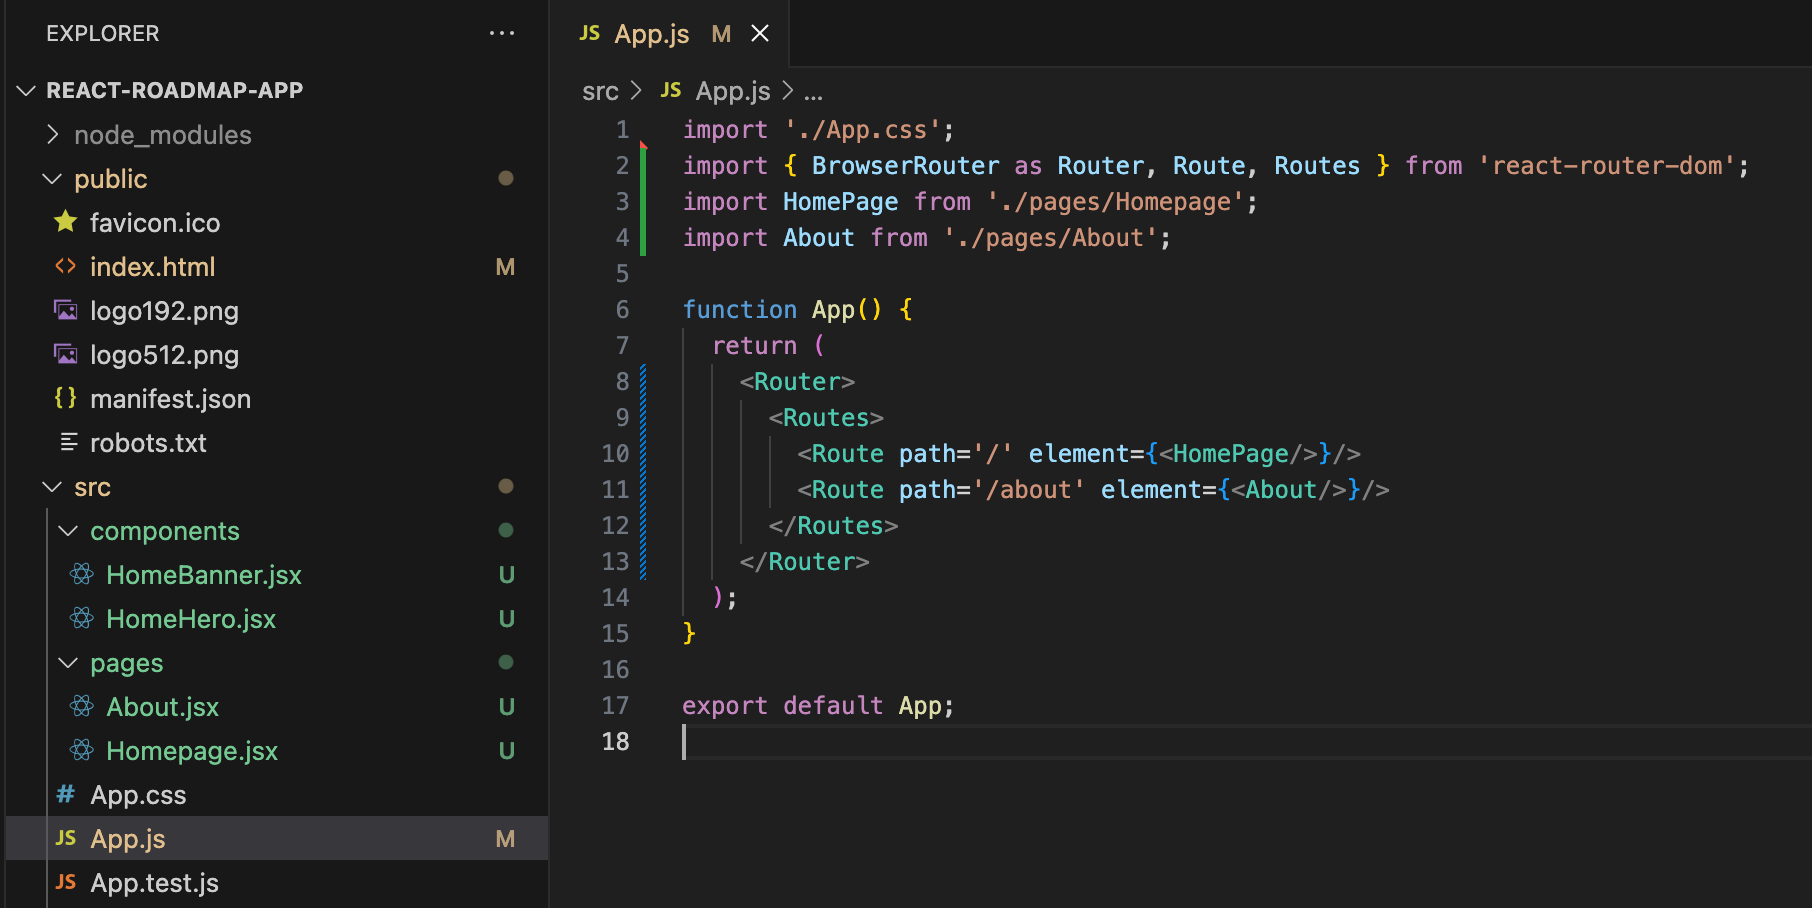
This eases the process of traversing between different pages in a web application. It provides the common infrastructure for the router and renders the children elements.
We can also provide nested path value like /services/mulesoft-services.
HashRouter
<HashRouter> is designed for deployment in web browsers when the URL must not, or cannot, be transmitted to the server due to specific constraints. This situation may arise in certain shared hosting environments where full control over the server is not available.
While using HashRouter, the components to be rendered will be wrapped inside <HashRouter> tag.
MemoryRouter
A <MemoryRouter> internally maintains its locations in an array, distinguishing it from <BrowserHistory> and <HashHistory>. It operates independently of external sources, such as the browser's history stack, making it well-suited for situations requiring precise control over the history stack, such as in testing and mock scenarios.
While using MemoryRouter, the <Routes> will be wrapped inside <MemoryRouter> tag.
Page Not Found - 404
When a user requests an invalid path associated with the domain, it is a practice to redirect them to a 404 page. In order to implement that, we need to provide the path value as *.
<Route path = '*' element = {<404Page/>} />
useNavigate
useNavigate is a React Hook provided by React Router for programmatic navigation in functional components. It returns a navigate function that you can use to navigate to a different route.
import { useNavigate } from 'react-router-dom';
const MyComponent = () => {
const navigate = useNavigate();
const handleClick = () => {
navigate('/dashboard');
};
return (
<button onClick={handleClick}>
Go to Dashboard
</button>
);
};
Here, clicking the Go to Dashboard button triggers navigation to the '/dashboard' route using the navigate function provided by useNavigate.
useRoutes
useRoutes is another React Hook provided by React Router to conditionally render components based on the current route. It takes a route configuration object and returns the matched route's component.
import { useRoutes } from 'react-router-dom';
const routes = [
{ path: '/', element: <Home /> },
{ path: '/about', element: <About /> },
{ path: '/contact', element: <Contact /> },
];
const App = () => {
const element = useRoutes(routes);
return <>{element}</>;
};
It conditionally render components based on the current route. The route configuration (routes) maps paths to corresponding components, and the matched component is rendered in the App component.
useParams
useParams is used for extracting parameters from the current URL path. It allows you to access the dynamic segments of the URL, providing a way to retrieve values specified in the route.
import { useParams } from 'react-router-dom';
const UserProfile = () => {
const { username } = useParams();
return (
<div>
<h2>User Profile</h2>
<p>Username: {username}</p>
</div>
);
};
In this example, useParams is used to extract the username parameter from the URL path. The component then uses this parameter to display the user's profile information dynamically.
By default, the useParams hook in React Router is case-sensitive. This means that it distinguishes between uppercase and lowercase characters in the parameter values.
For example, if you have a route defined as /users/:userId and you use useParams to extract the userid, it will consider it as different parameter name.
useLocation
The useLocation hook is used to access the current location object, which represents where the app is now, where you’d like it to go, or even where it was.
import { useLocation } from 'react-router-dom';
const MyComponent = () => {
const location = useLocation();
return (
<div>
<h2>Current Location</h2>
<p>Pathname: {location.pathname}</p>
<p>Search: {location.search}</p>
</div>
);
};
Here, useLocation is used to get the current location object, and properties like pathname and search are accessed from that object. This hook is useful for conditionally rendering components based on the current route or extracting information from the URL.
React Router has many hooks that assist the routing process and here, we have discussed about few familiar hooks.
Conclusion
Learning React Router opens up a world of possibilities in building dynamic and efficient single-page applications. By understanding its diverse components and their applications, developers gain the prowess to seamlessly navigate users, manage state, and create interactive web experiences. Elevate your React skills by mastering the intricacies of React Router and enhancing the overall user journey in your web applications.
Let us meet again at our next stop, State Management !