Custom Mule Connector - Crafting & Usage

Introduction
In the realm of enterprise integration, custom Mule connectors stand as indispensable assets, offering developers the flexibility to extend the capabilities of MuleSoft's Anypoint Platform to suit specific business requirements. These bespoke connectors serve as bridges between Mule applications and external systems, APIs, or data sources that may not be supported by pre-built connectors.
By empowering developers to design, implement, and integrate custom connectors seamlessly, MuleSoft enables organizations to achieve unparalleled levels of agility, efficiency, and innovation in their integration projects.
Implementation of custom mule connector
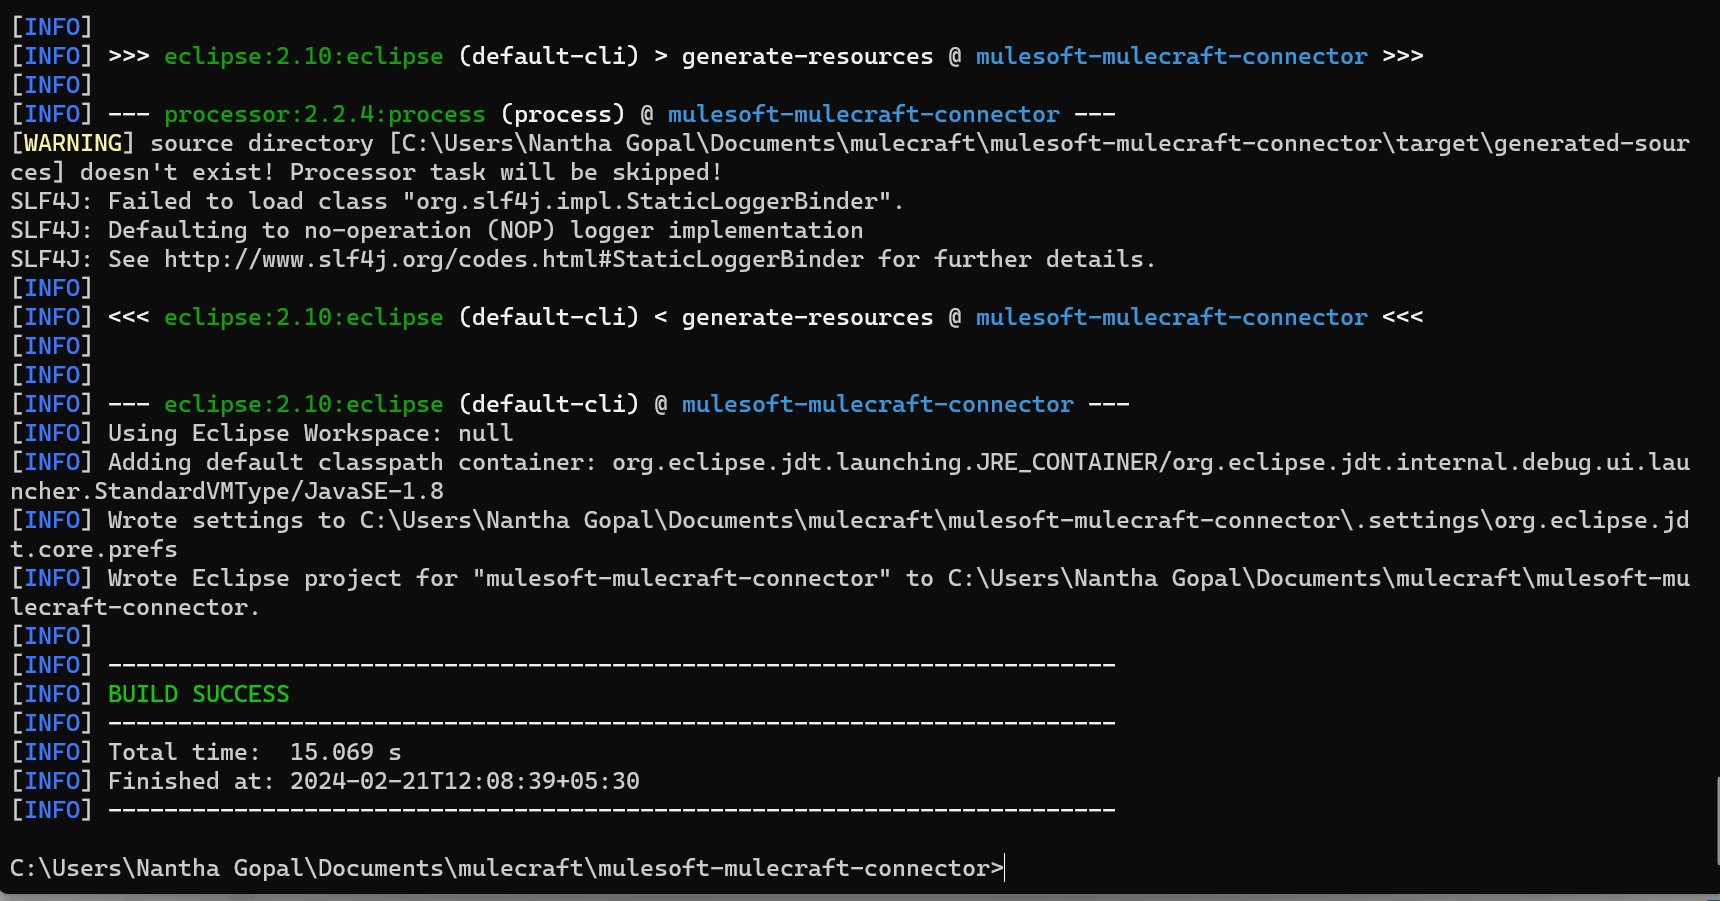
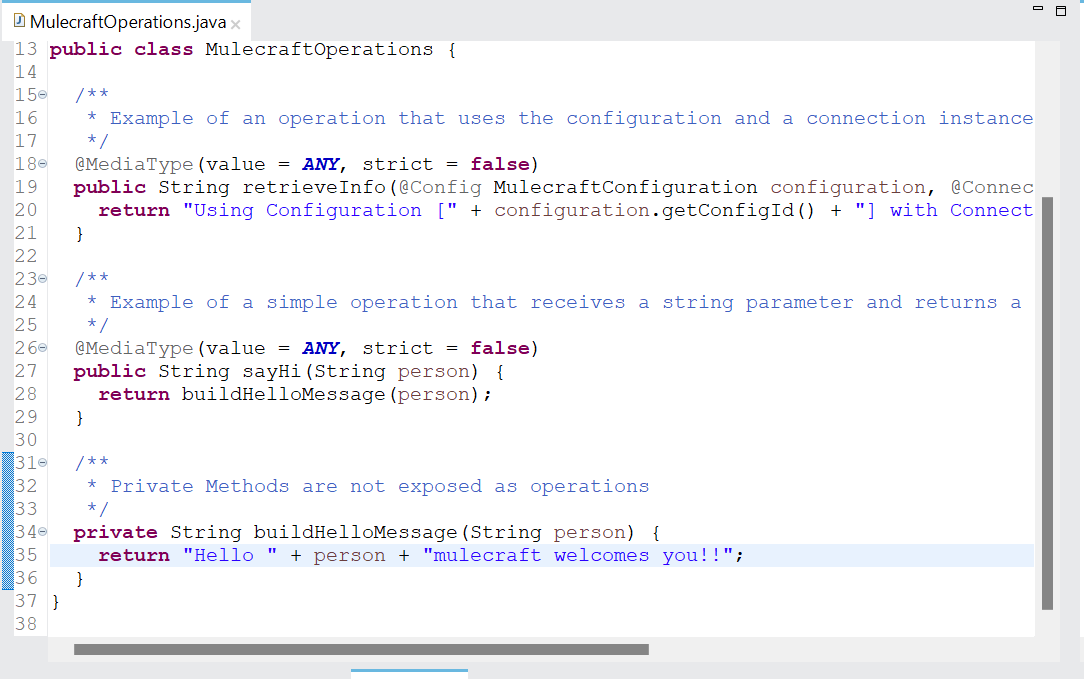
Build Project and Configuration:
- The "build project" step involves compiling the source code of the custom connector project to generate the necessary artifacts required for deployment. This process ensures that the code is syntactically correct and compiles successfully without errors.
- The output of the build process typically includes compiled Java classes, resource files, configuration files, and any other resources needed for the connector to function properly.
- Building the project is a crucial step in the development lifecycle as it prepares the connector for further testing, deployment, and integration into Mule applications.
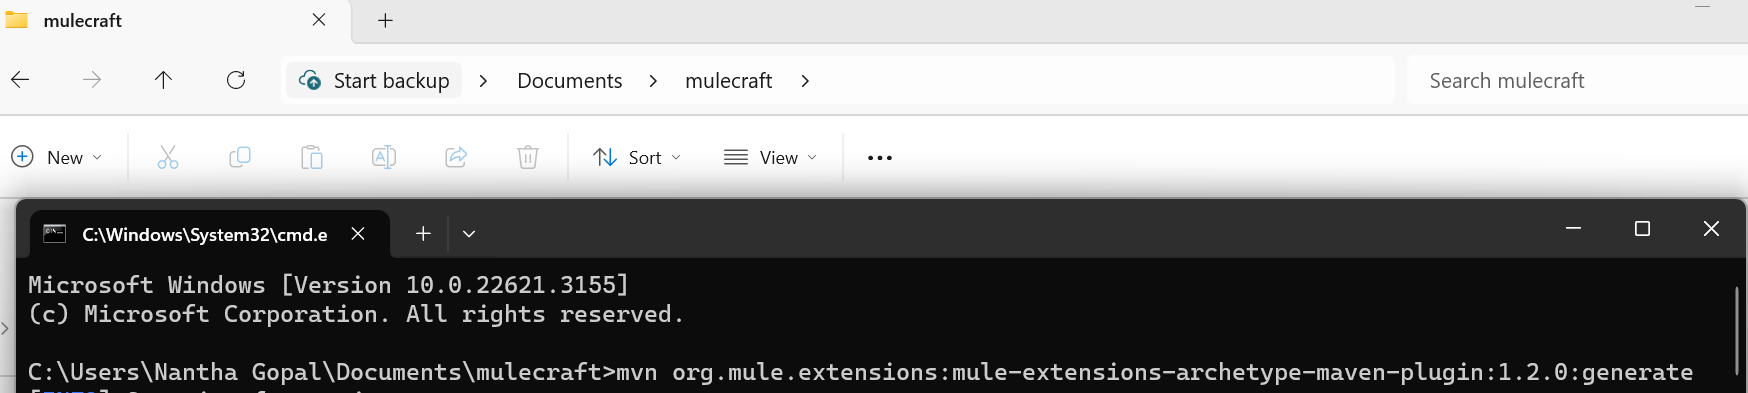
- Run the command mvn org.mule.extensions:mule-extensions-archetype-maven-plugin:1.2.0:generate, where you want to create the project.
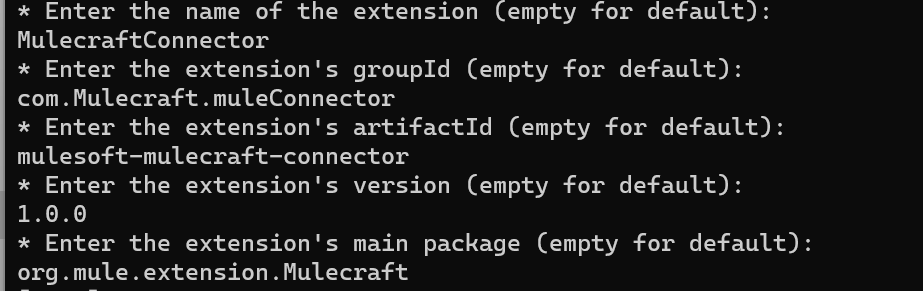
- Developers need to specify the necessary settings and parameters required for the custom connector to function correctly within the integration solution.
- Configuration typically involves defining properties such as endpoint URLs, authentication credentials, connection timeouts, and other relevant settings based on the requirements of the target systems or APIs.
- These configurations are essential as they dictate how the connector interacts with external resources and ensure that it behaves according to the desired behaviour specified during the design phase.
- Proper configuration ensures that the custom connector operates seamlessly within the MuleSoft environment and integrates effectively with the external systems or APIs it interacts with, thus facilitating smooth data exchange and communication.

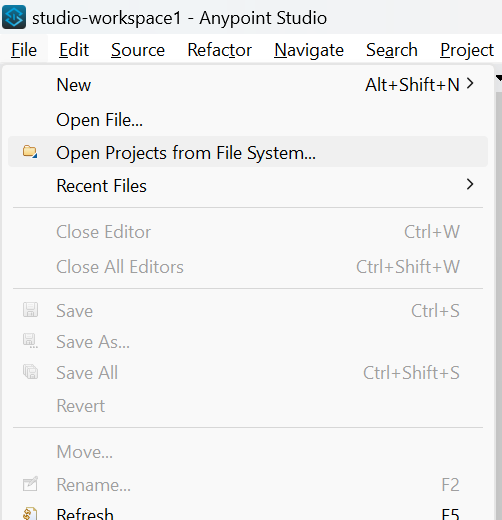
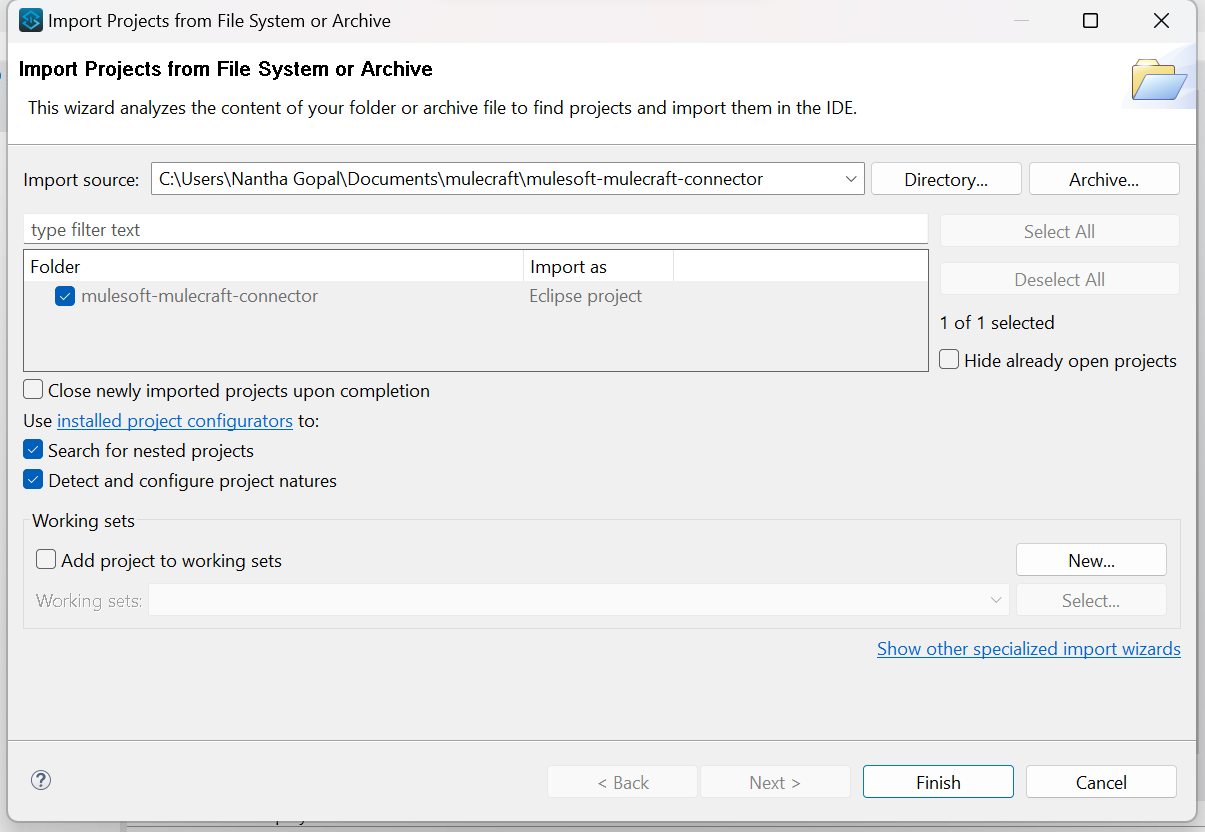
Import Project:
- Import the custom connector project into the development environment, such as Anypoint Studio, by opening the project directory or importing it from version control. This step allows developers to access and modify the connector source code, configuration files, and other project resources within the integrated development environment.

Clean and Install the Project:
- Perform a clean build of the custom connector project to ensure that it is built from scratch without any residual artifacts from previous builds. This step removes any existing compiled files and temporary build directories. After cleaning, the project is built again, and the resulting artifacts are installed into the local Maven repository or another designated location for dependency management.


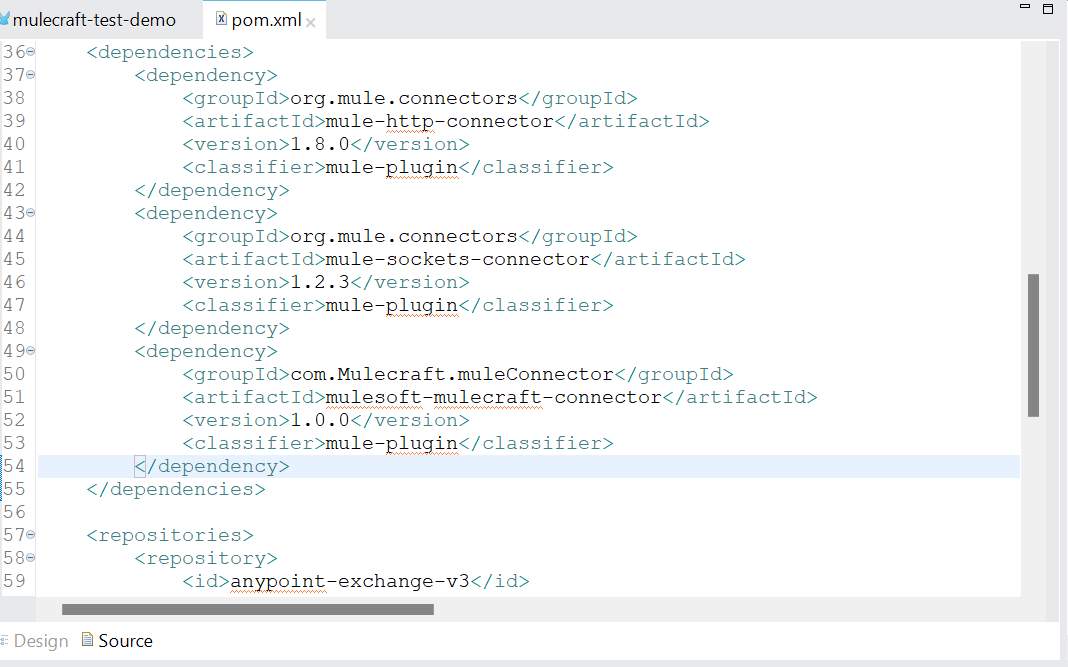
Update Dependencies:
- Check and update the dependencies used by the custom connector project to ensure compatibility and consistency with the latest versions of external libraries, frameworks, or MuleSoft dependencies. This step may involve updating dependency version numbers in the project's build configuration file (e.g., pom.xml for Maven projects) and resolving any compatibility issues that arise.
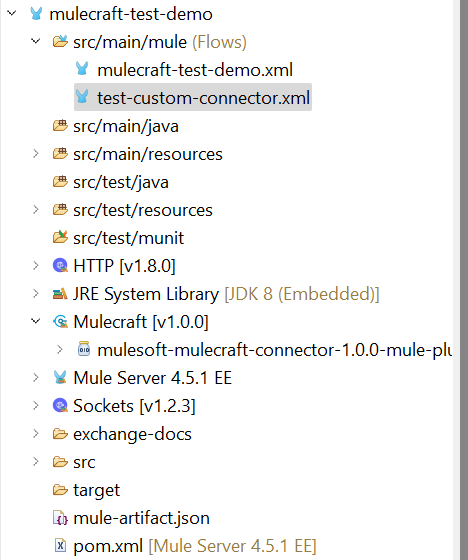
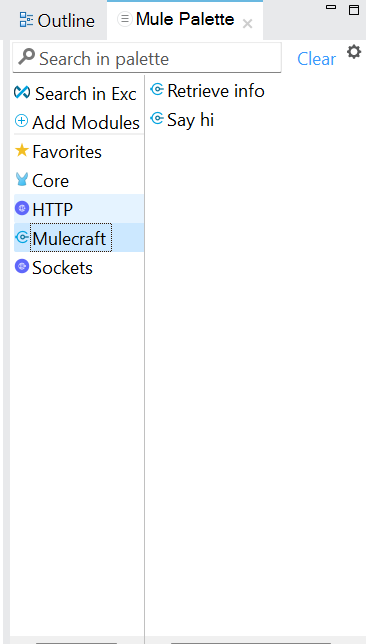
Add to Mule Palette and install Connector:
- Deploy the custom connector to the Mule runtime environment, either locally for testing or to the Anypoint Platform for production use, enabling its functionality within Mule applications
- Integrate the custom connector into the Mule palette within Anypoint Studio to make it easily accessible for use in Mule applications. This involves registering the connector with Anypoint Studio's palette manager and defining its metadata, including display name, category, description, and icon.
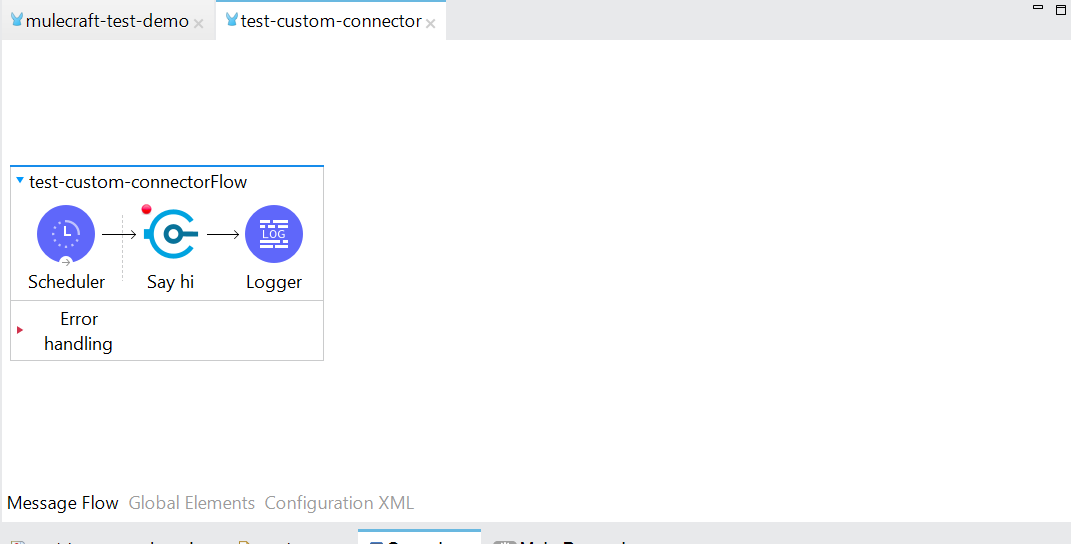
- Once added to the palette, developers can drag and drop the custom connector onto Mule flows for configuration and usage.
Install Connector:
- Deploy the custom connector to the Mule runtime environment to make it available for use in Mule applications. This step may involve installing the connector locally for testing purposes or packaging it as a deployable archive (e.g., Mule application or domain project) for deployment to production environments.
- Once installed, the connector's functionality becomes accessible within Mule applications, allowing developers to incorporate it into their integration solutions.
Conclusion
In conclusion, the journey of custom connector implementation and integration within the MuleSoft ecosystem offers developers a powerful avenue for tailoring integration solutions to meet unique business requirements. By following the steps outlined above, developers can create custom connectors that seamlessly bridge the gap between Mule applications and external systems, APIs, or data sources. Through careful analysis, design, coding, testing, and deployment, organizations can unlock new levels of agility, efficiency, and innovation in their integration projects.