Integrating Shopify With MuleSoft For Seamless Data Exchange

Introduction
Amidst the dynamic landscape of online commerce, businesses strive for streamlined operations by seamlessly syncing and optimizing their digital platforms. By integrating your Shopify storefront with MuleSoft, you harness the synergy between Shopify's robust e-commerce tools and MuleSoft's integration prowess.
This collaboration establishes a digital conduit, enabling fluid data and process exchange, ultimately elevating e-commerce efficiency and empowering your online presence to deliver heightened customer experiences. Through an exploration of its advantages and functionalities, we'll delve into real-world examples that highlight the profound transformation this integration brings to e-commerce workflows amidst the ever-evolving digital terrain.
Connecting Your Shopify Online Store To MuleSoft - Eight key Factors
- Data Mapping and Integration Planning: Start by delineating the data you intend to transfer between Shopify and your other platforms. Develop an integration strategy detailing your goals and specifications
- Selecting the Right MuleSoft Connectors: Identify the suitable MuleSoft connectors enabling seamless interaction with Shopify's API for streamlined integration.
- Setting Up API Authentication: Implementing Robust API Authentication Mechanisms for Secure Communication Between Shopify and MuleSoft.
- Order Processing Integration: Create a streamlined order processing workflow that seamlessly synchronizes order details from Shopify to your backend systems, including ERP or inventory management software.
- Customer Data Synchronization: Develop protocols for harmonizing customer data between Shopify and your CRM or customer database, ensuring uniformity and precision in customer information.
- Inventory Management Automation: Automate inventory control processes to maintain accurate stock levels across all systems, minimizing the risk of overstocking or stockouts by ensuring real-time updates.
- Payment and Financial Data Integration: Establishing a secure data conduit for the seamless transmission of payment details, refunds, and financial data between Shopify and your accounting or financial platforms.
- Monitoring and Optimization: Proactively oversee the integration process to identify and address any issues, bottlenecks, or enhancement possibilities, ensuring optimal performance and efficiency.
Potential use cases
- Real-time Inventory Management
- Order Fulfillment Automation
- Customer Data Synchronization
- Payment Processing Integration
- Marketing and Analytics Integration
- Multi-channel Sales
- Personalized Customer Experiences
- Streamlined Returns and Refunds
Integrating Shopify Using MuleSoft
Shopify Account Creation:
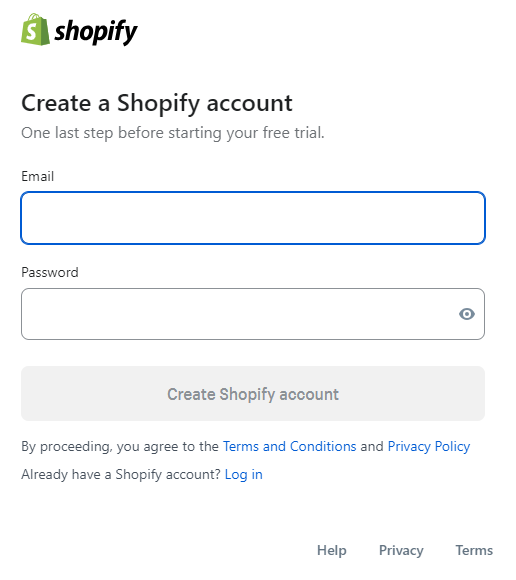
Step1: To create a Shopify account, visit https://www.Shopify.in/free-trial and enter your email address. Click on Start free trial.

Step2: Enter your email and a password and then click on Create Shopify account.
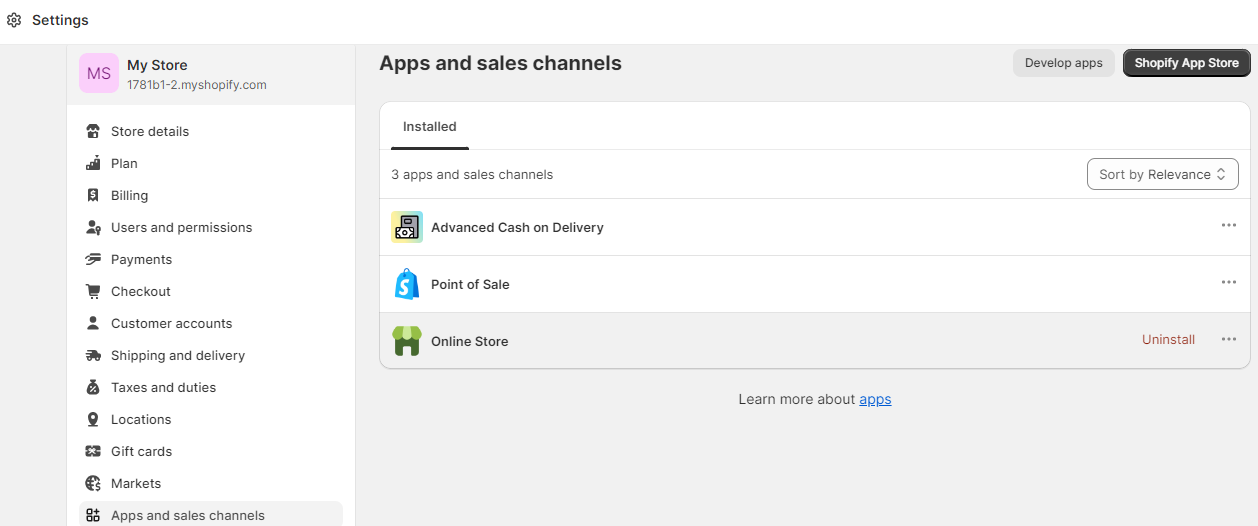
Step3: Click on Settings and click Apps and sales channels. In the respective panel, click on Develop apps.
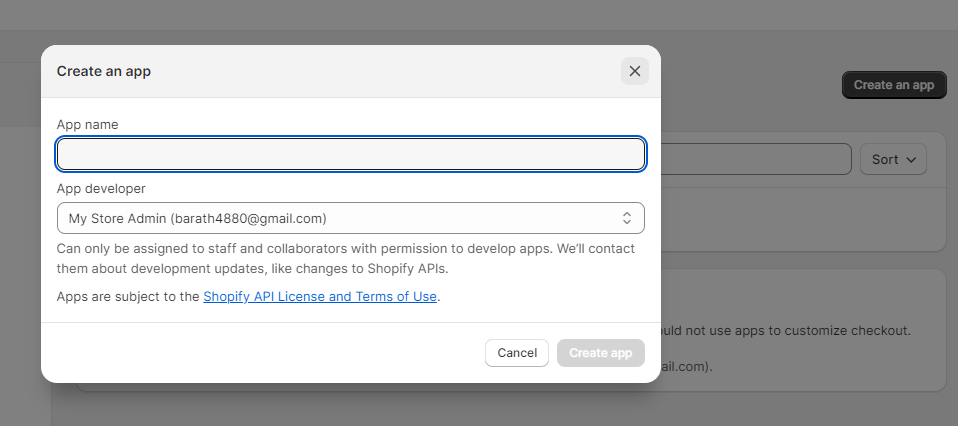
Step4: Provide an app name and click on Create app.
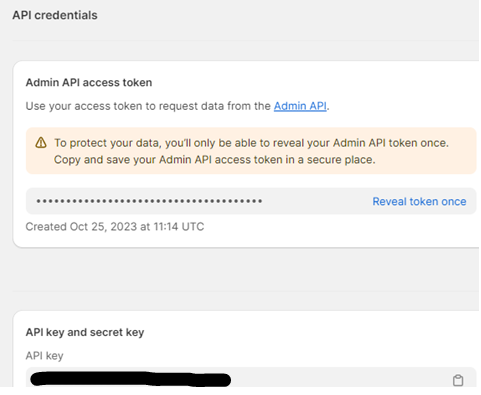
Step5: Click on Configure admin API scopes and add the admin access scope. Then add a webhook version and click on Save.

Step6: Click on install app and you will get the username (API Key) and the password (Access Token).
Create Mule Projects: Create a mule project in Anypoint Studio.
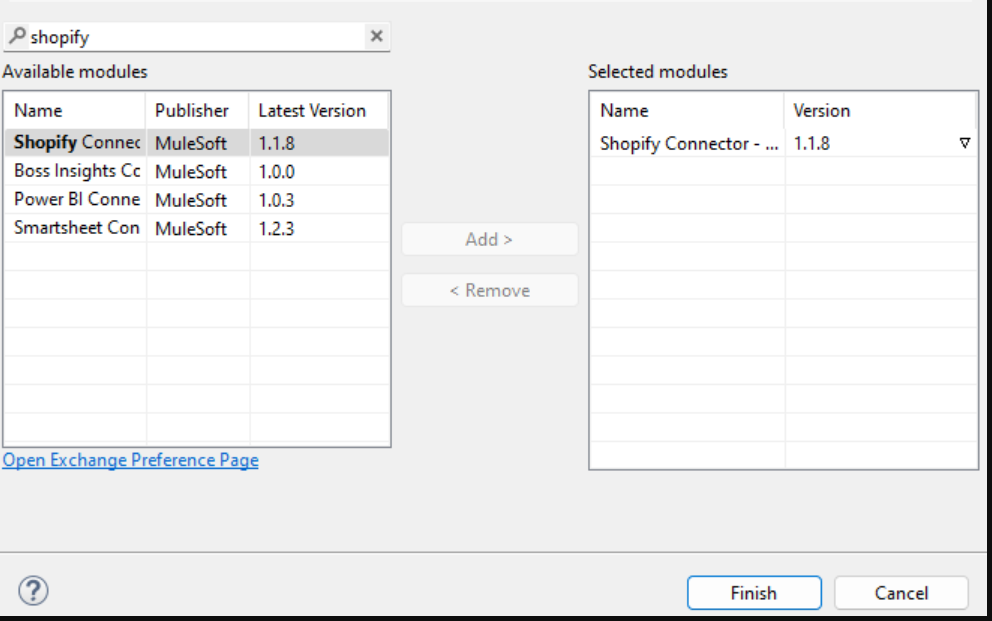
Add Shopify Connector: You can utilize the search feature within the Mule Palette to locate the Shopify connector in the exchange. Once identified, incorporate the Shopify connector into your project. Alternatively, you can opt to directly integrate the Shopify connector dependency into the pom.xml file of your project.
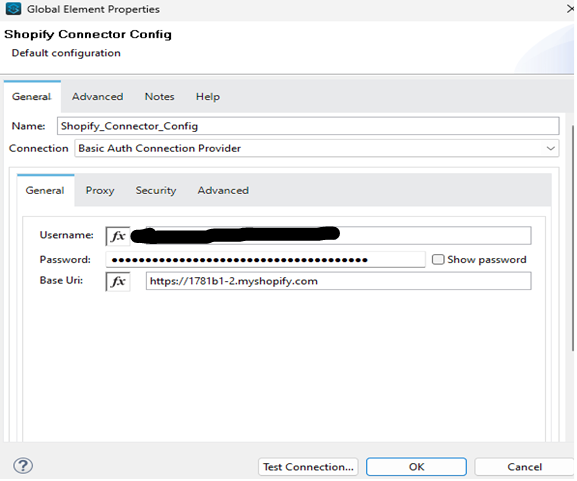
Setting up the Shopify Connector: Following its installation, configure the connector by establishing a global configuration within your MuleSoft project. Access the "Manage Global Elements" section to create a new configuration tailored to the Shopify Connector, inputting your credentials and connection details such as username and password.
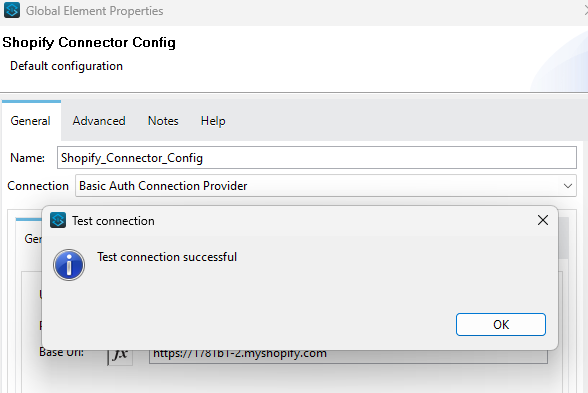
Test connection: Click on Test Connection to check if the connection is successful established.
Use the Shopify Connector in Mule Flows
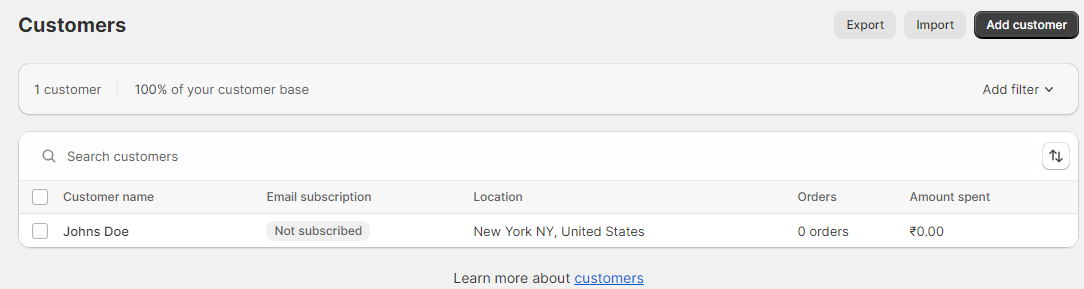
Customer Create Component:
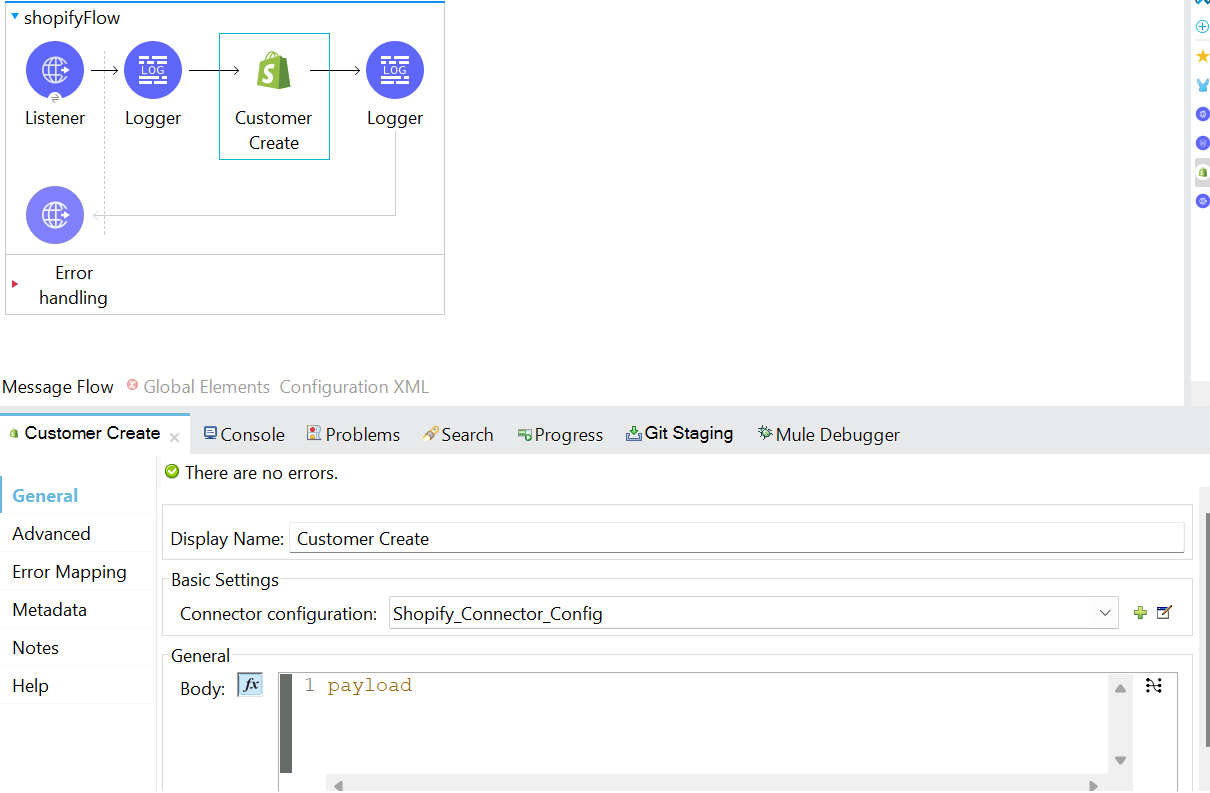
Enter the below mentioned example as payload to test.
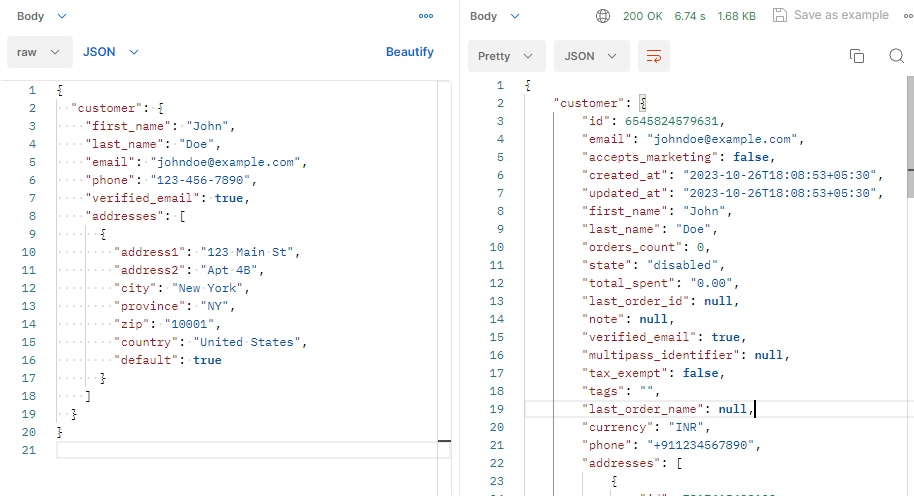
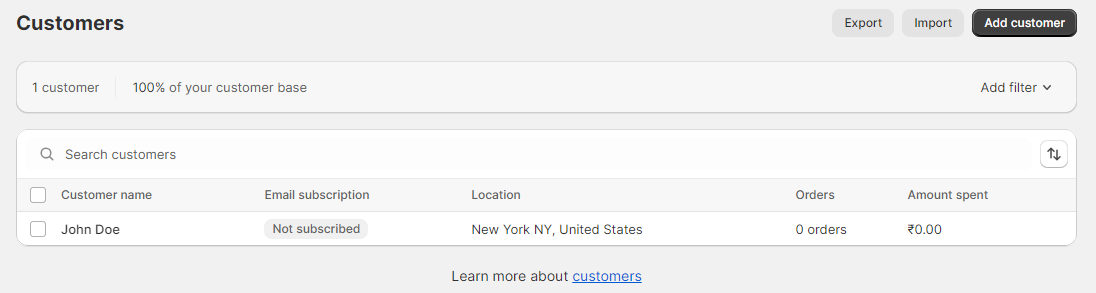
Now when accessing the customer dashboard, a new customer profile is automatically generated.
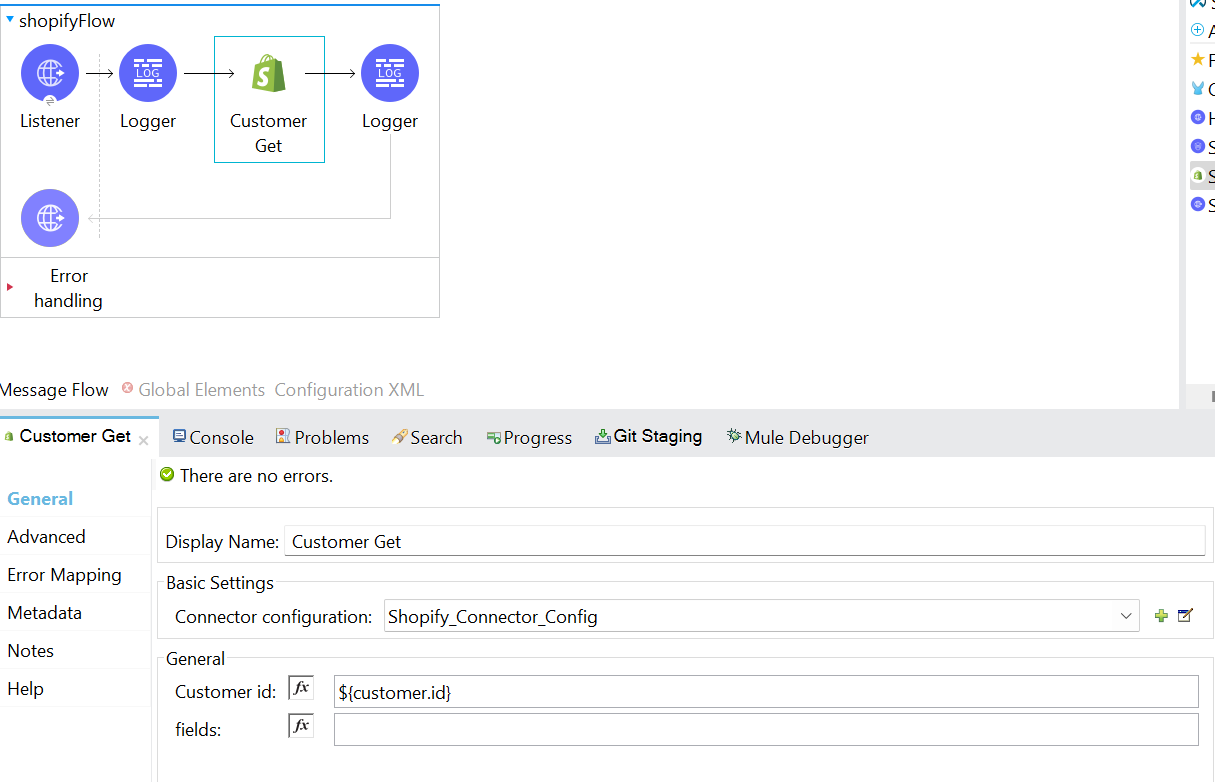
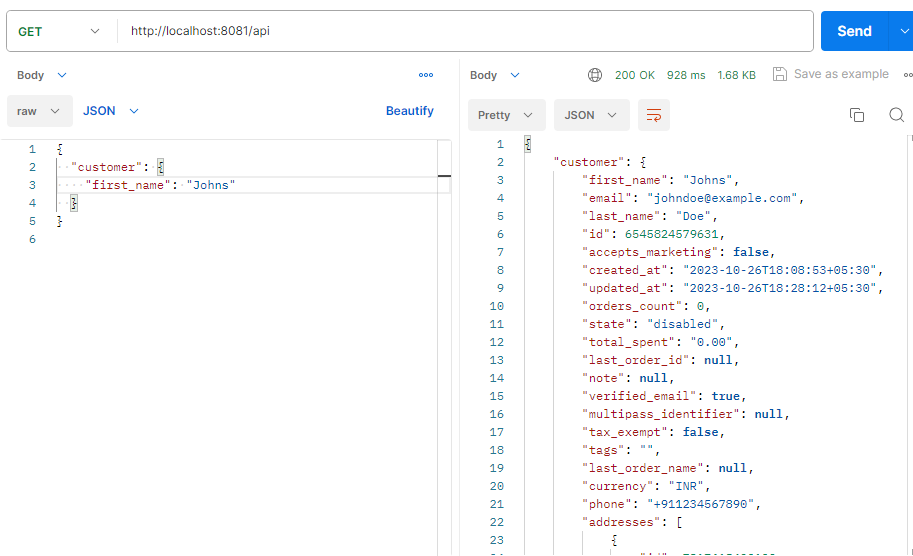
Customer Get Component:
Enter the specific customer id to get the details of the customer.
After hitting the API URL, we will receive the customer details of mentioned customer id as mentioned below.

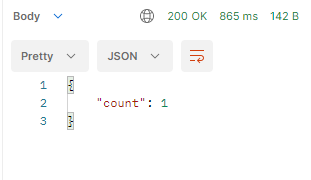
Customer Count Component:
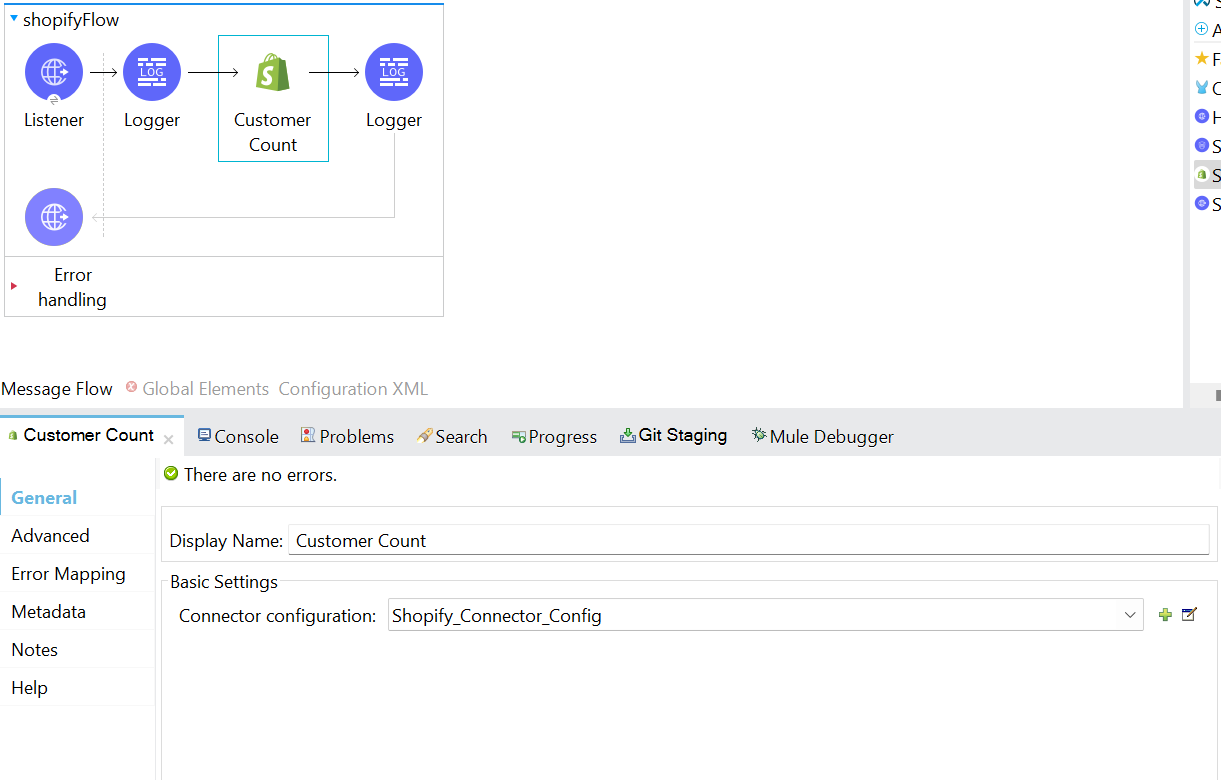
Above mentioned component will provide the count of customers available in our Shopify account.
Customer Update Component:

Enter the below mentioned example as payload.
Now when you open the customer dashboard, existing customers will be updated.
Customer Delete Component:
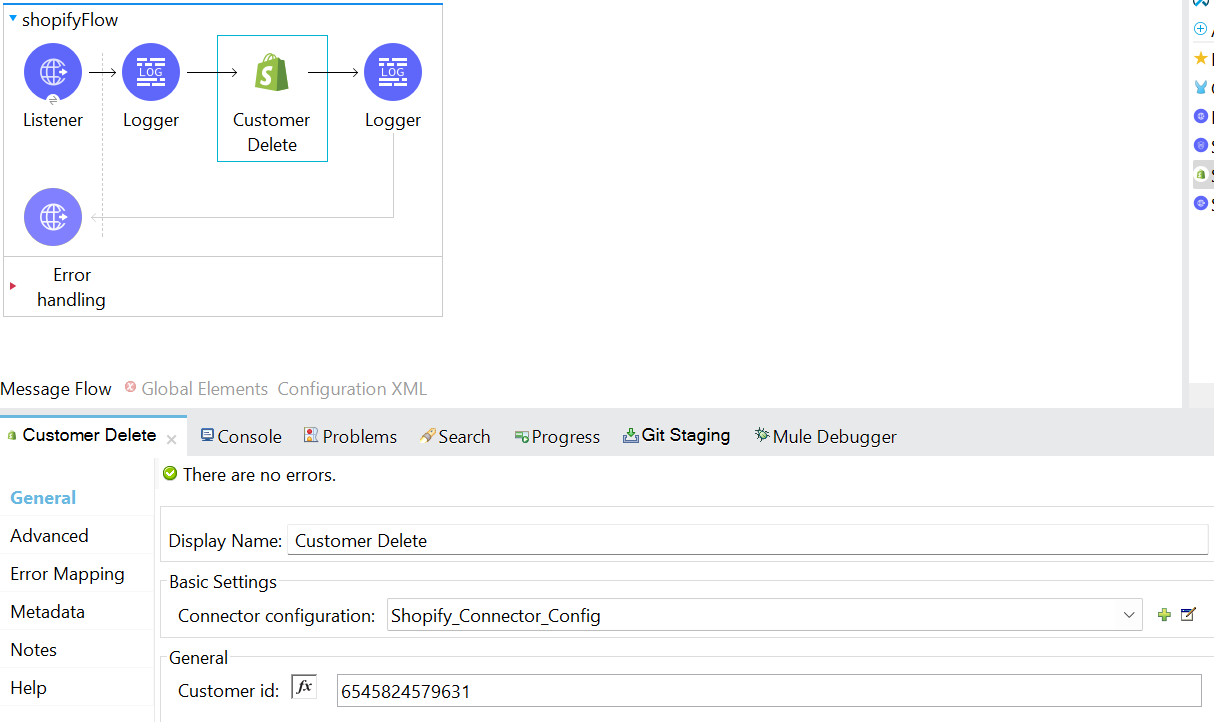
Existing customer will be deleted.
Conclusion
Combining Shopify with MuleSoft creates a powerful synergy, streamlining e-commerce operations and elevating customer satisfaction. This partnership optimizes data flow, driving operational excellence and enhancing scalability.
With real-time synchronization and reduced manual tasks, businesses benefit from heightened efficiency and agility. Prioritizing security and compliance, alongside customizable features, ensures adaptability to evolving market demands.
By investing in this integration, enterprises gain a strategic advantage in the competitive e-commerce realm, facilitating informed decisions and fostering personalized interactions for sustained growth and success.