Mastering GitLab Operations via Command-Line with Mule


Introduction
Git serves as an essential DevOps tool for effectively managing source code. As a free and open-source version control system, Git efficiently handles projects ranging from small to extensive scales. Its primary function involves tracking modifications within source code, facilitating collaborative development among multiple contributors in a non-linear fashion.
Step: - 1
Create a project in GitLab.
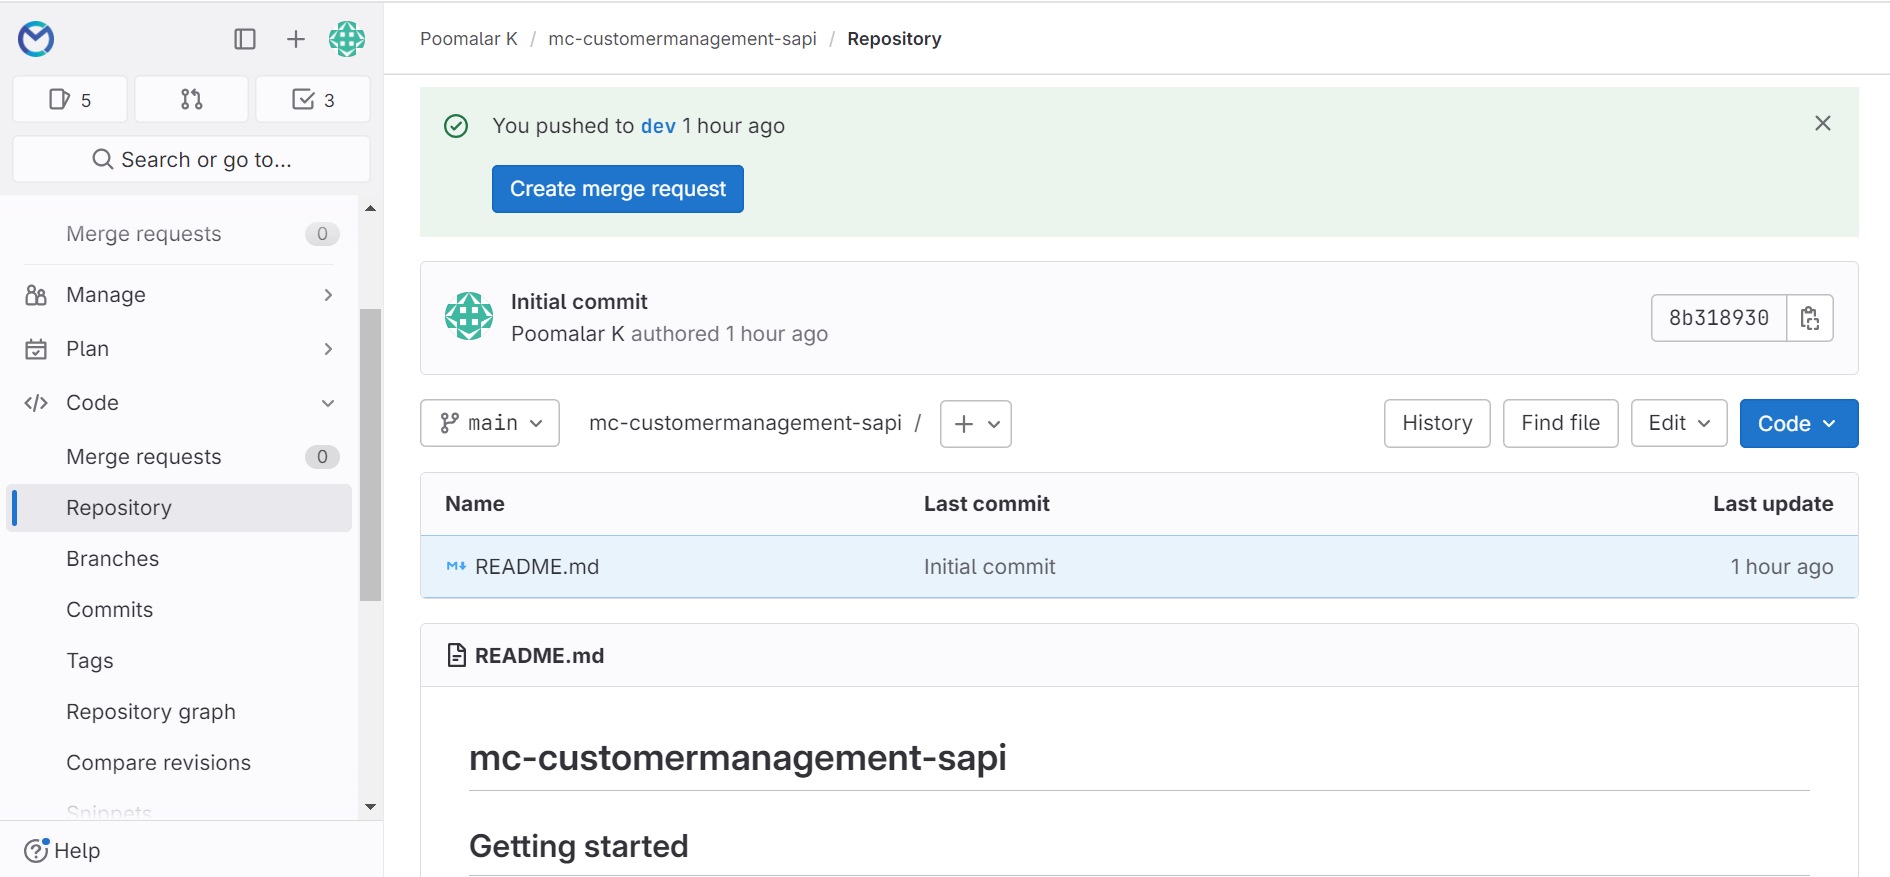
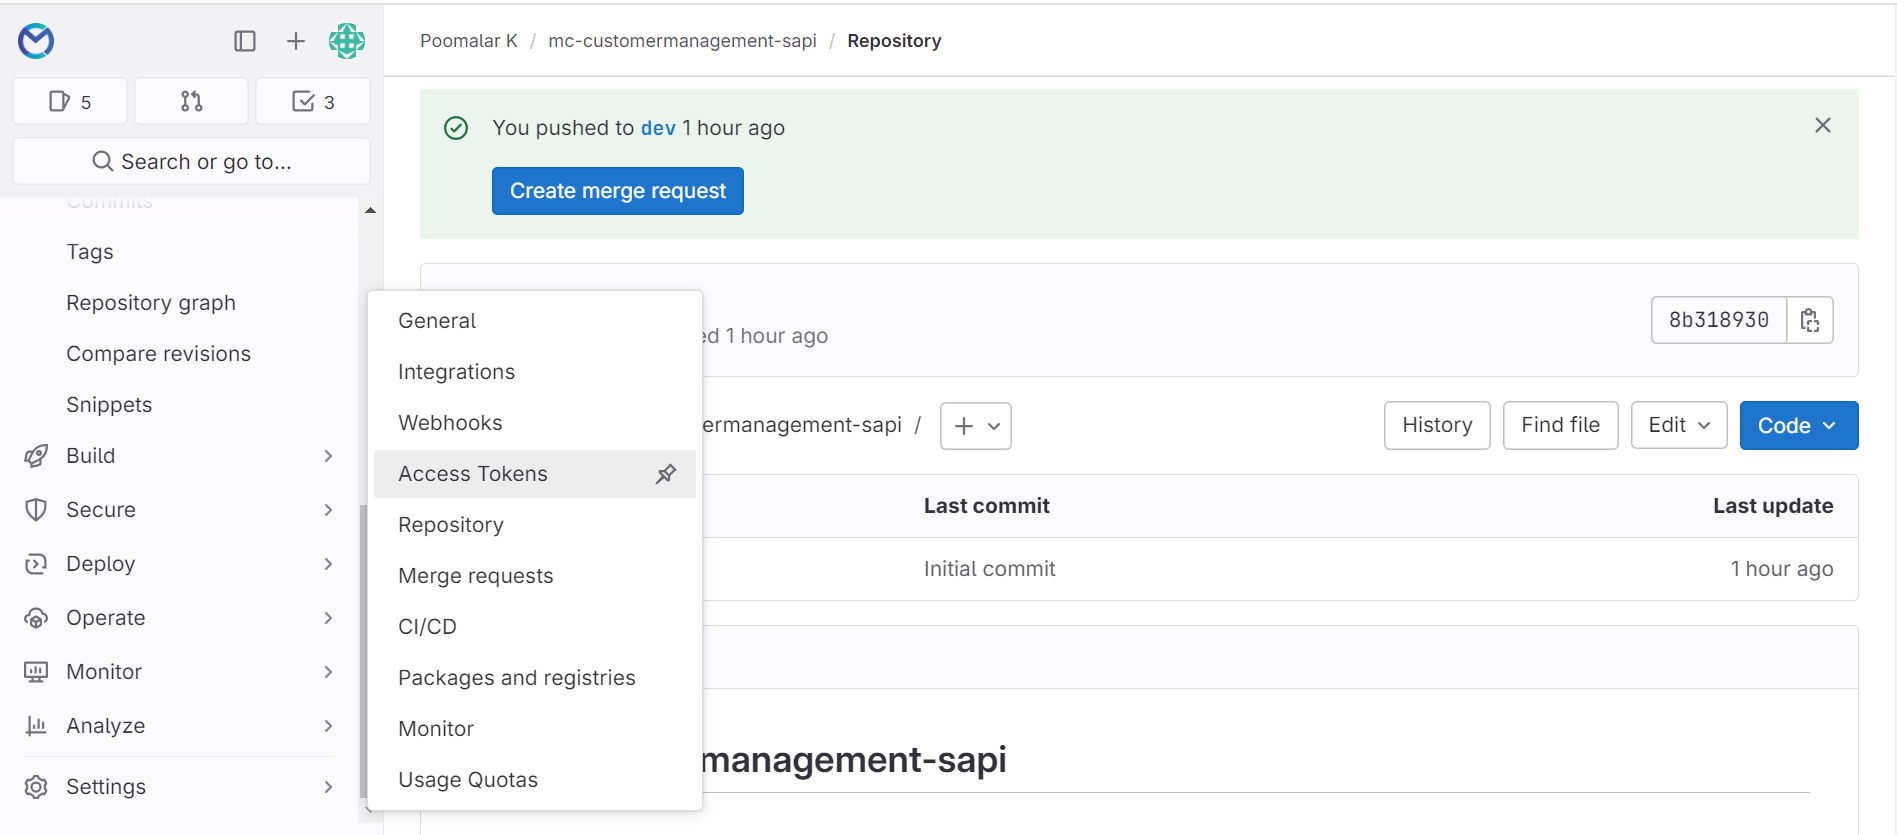
To generate an access token for the project, click on the "Settings" option, then navigate to "Access Tokens".
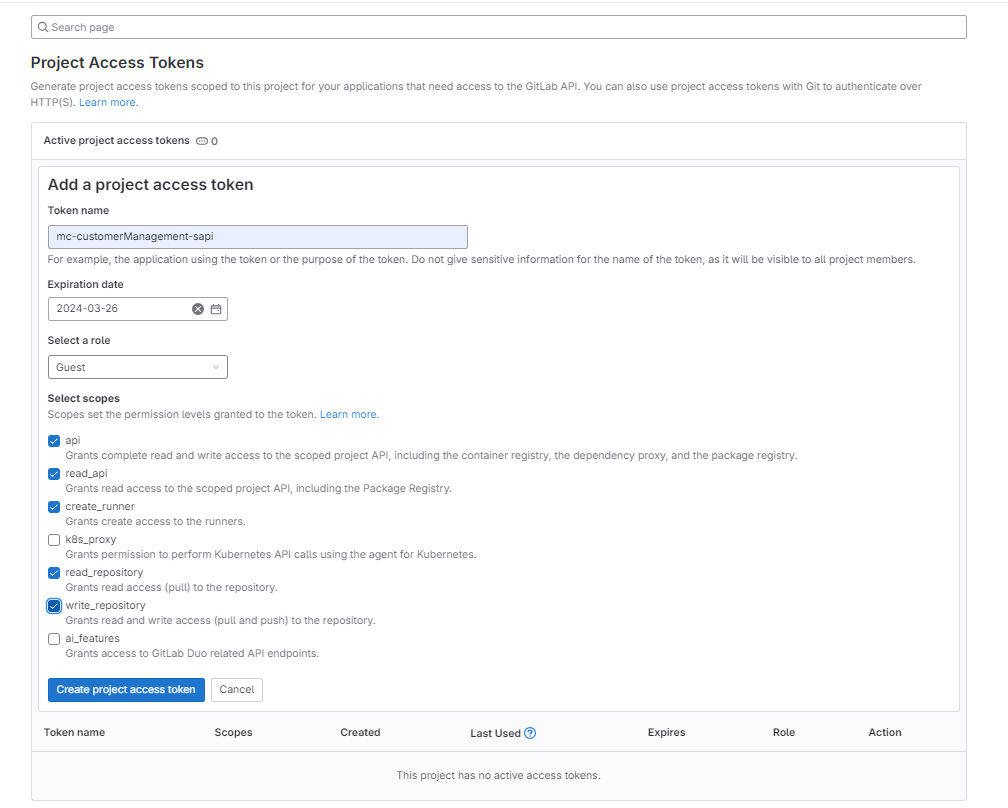
Provide a name for the token and set the expiration date. Next, select the role as "Owner" and specify the scopes to grant permissions for the project repository.
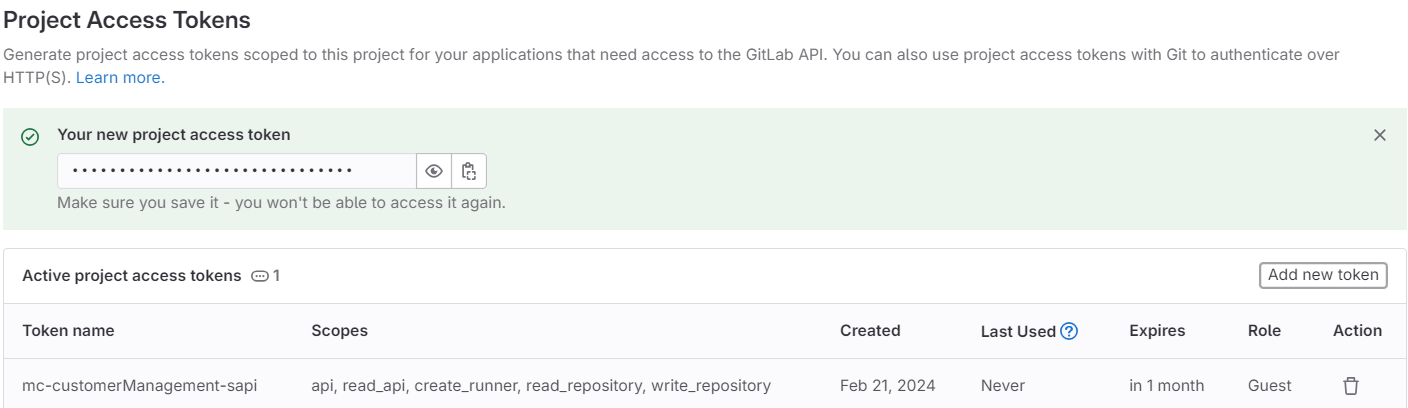
Copy the access token and save it securely, which will be used when cloning the project via the command prompt.
Step: - 2
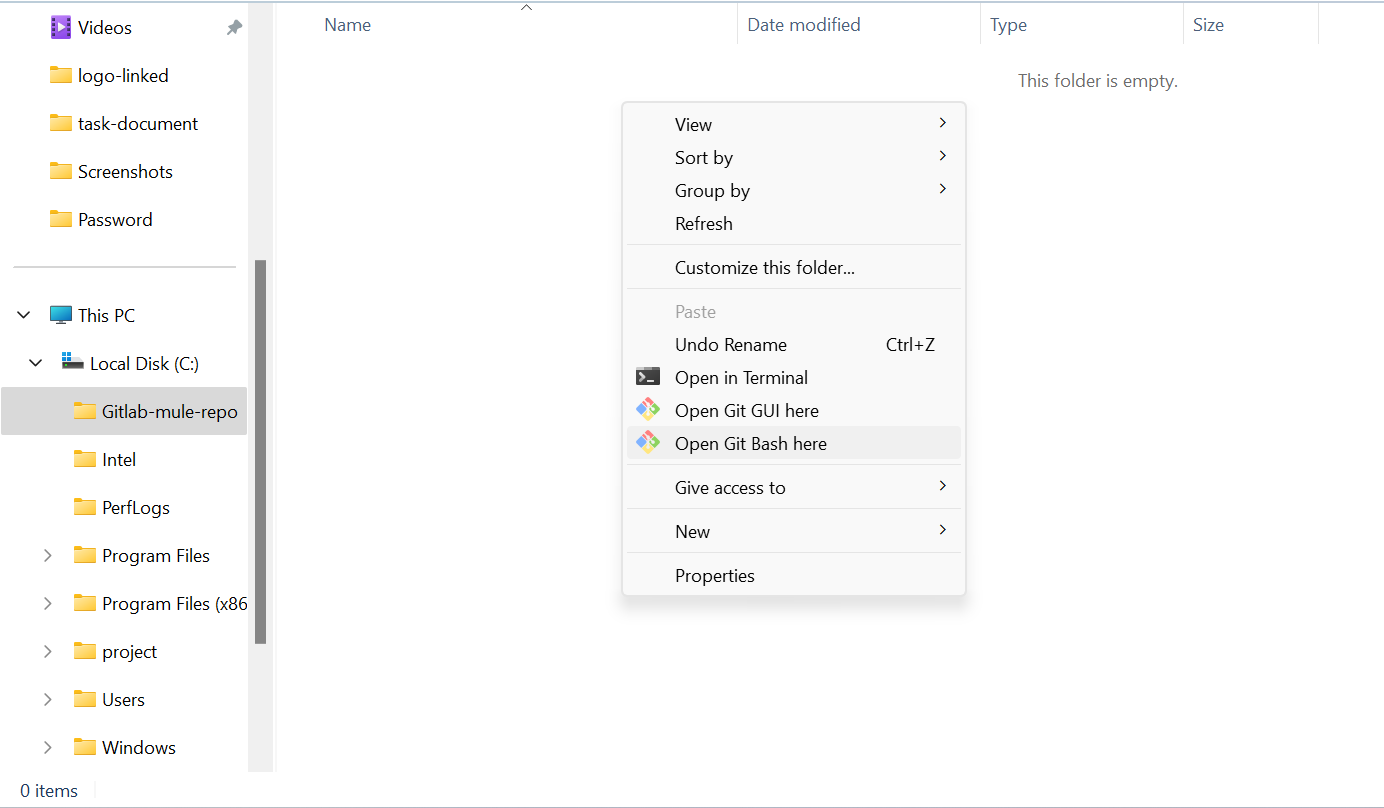
Create a separate Git repository project in your local directory. To access Git Bash, right-click on the project directory and select "Open Git Bash here". This will open the command prompt.
Step: - 3
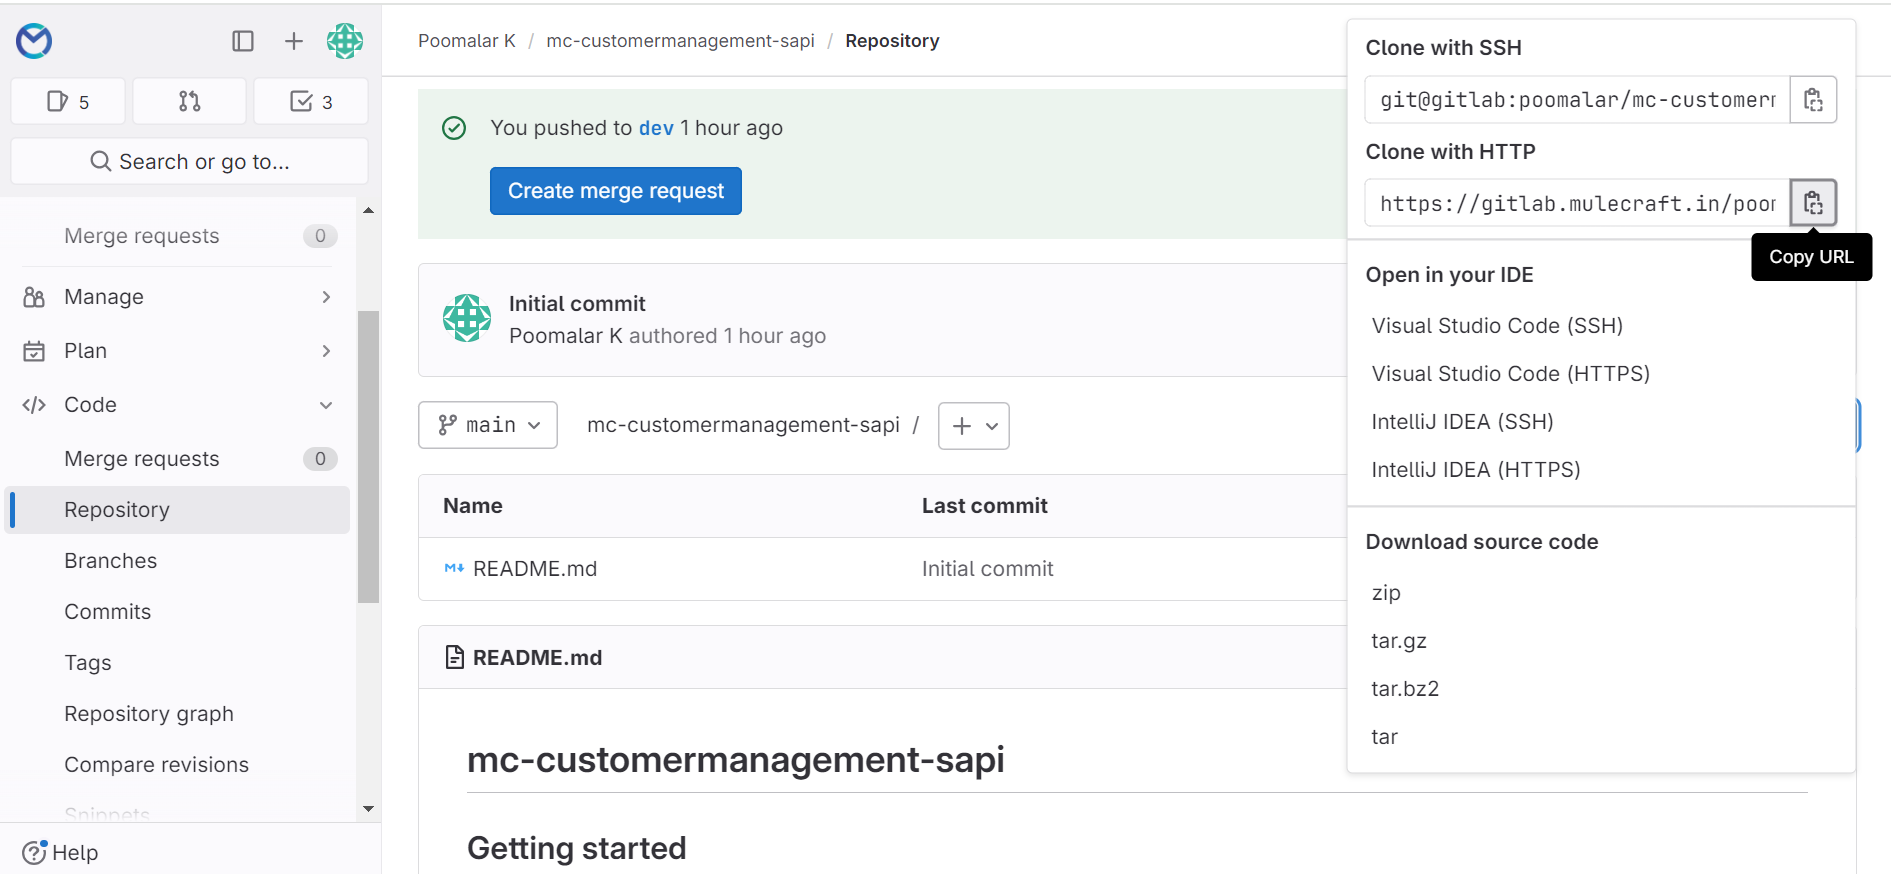
To obtain the project URL from GitLab, navigate to the top right corner and click on the "Code" option. From there, copy the HTTP URL provided.
Step: - 4
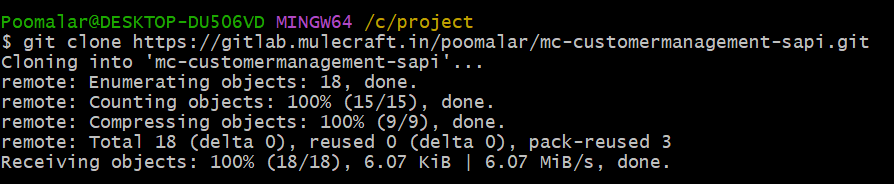
git clone
Usage: git clone [url]
This command is used to clone a repository from an existing URL. Paste the URL copied from GitLab.

Step: - 5
Use the following command in Git:
$ cd mc-customermanagement-sapi
This command changes the directory (cd) to mc-customermanagement-sapi.
The command $ cd mc-customermanagement-sapi is used in Git to change the current directory to the directory named mc-customermanagement-sapi. This allows you to navigate to that specific directory in your file system.

Step: - 6
git checkout
Usage: git checkout [branch name]
This command is used to switch from one branch to another.

git checkoutOnce the above steps are completed, you will find the README.md file in the Gitlab-mule-repo within your local directory.

Step: - 7
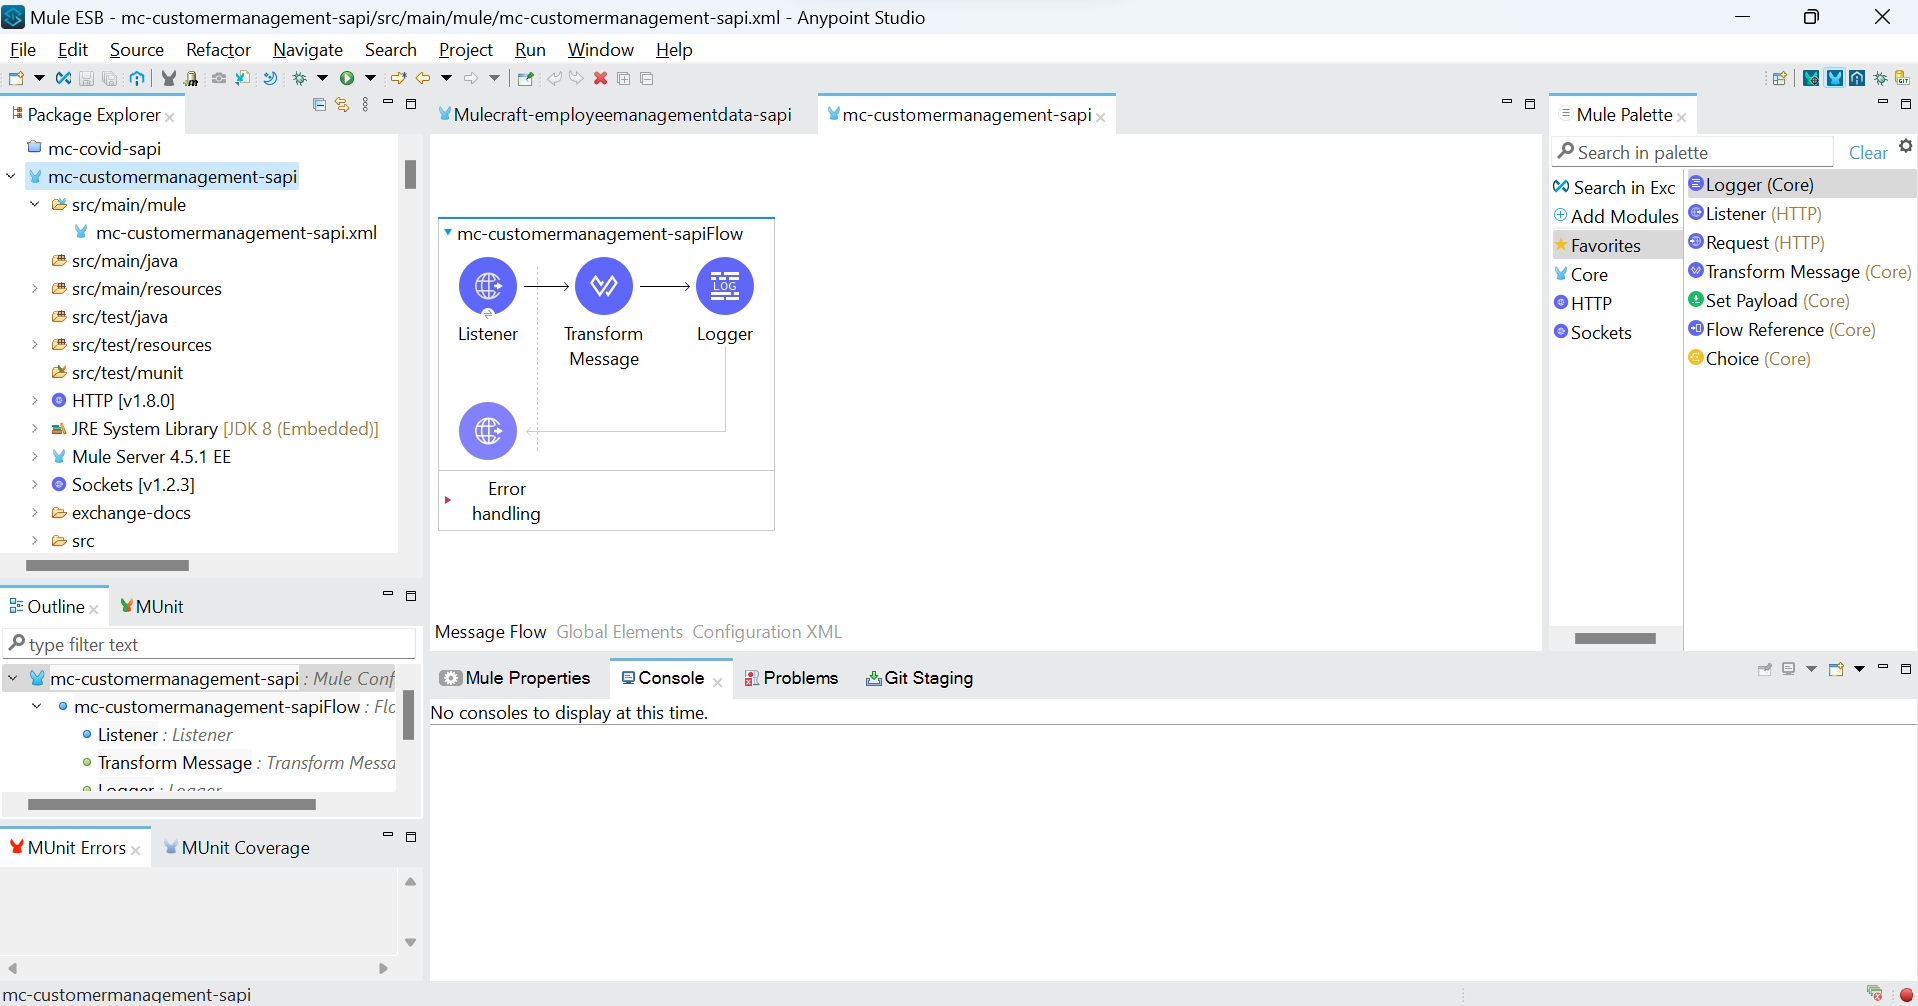
Create a project in Mule ESB.
Step: - 8
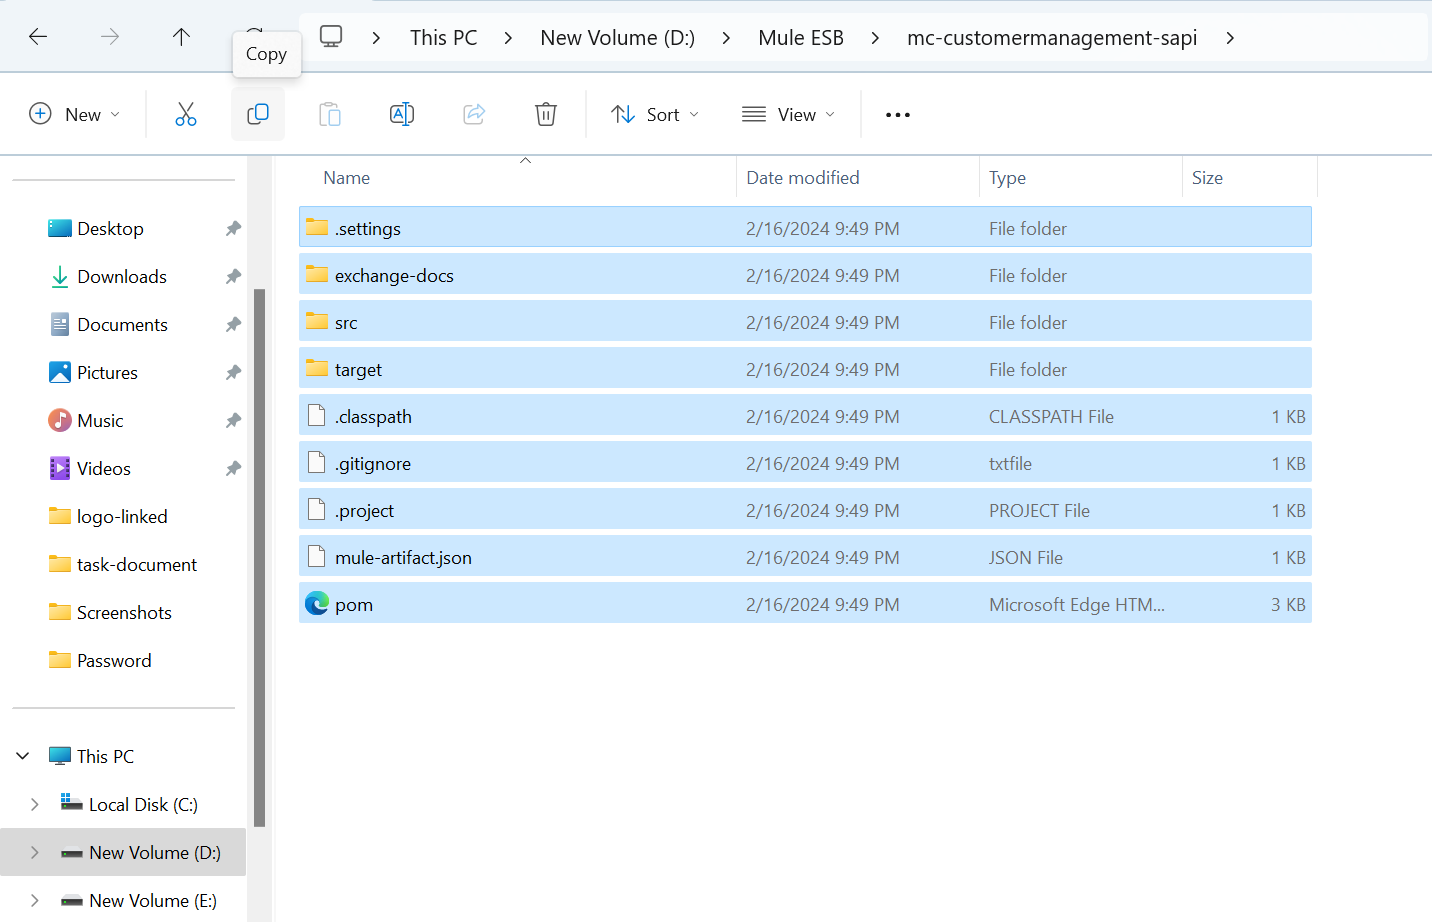
To access the project's directory in the system explorer, simply right-click on the project and select "Show In".
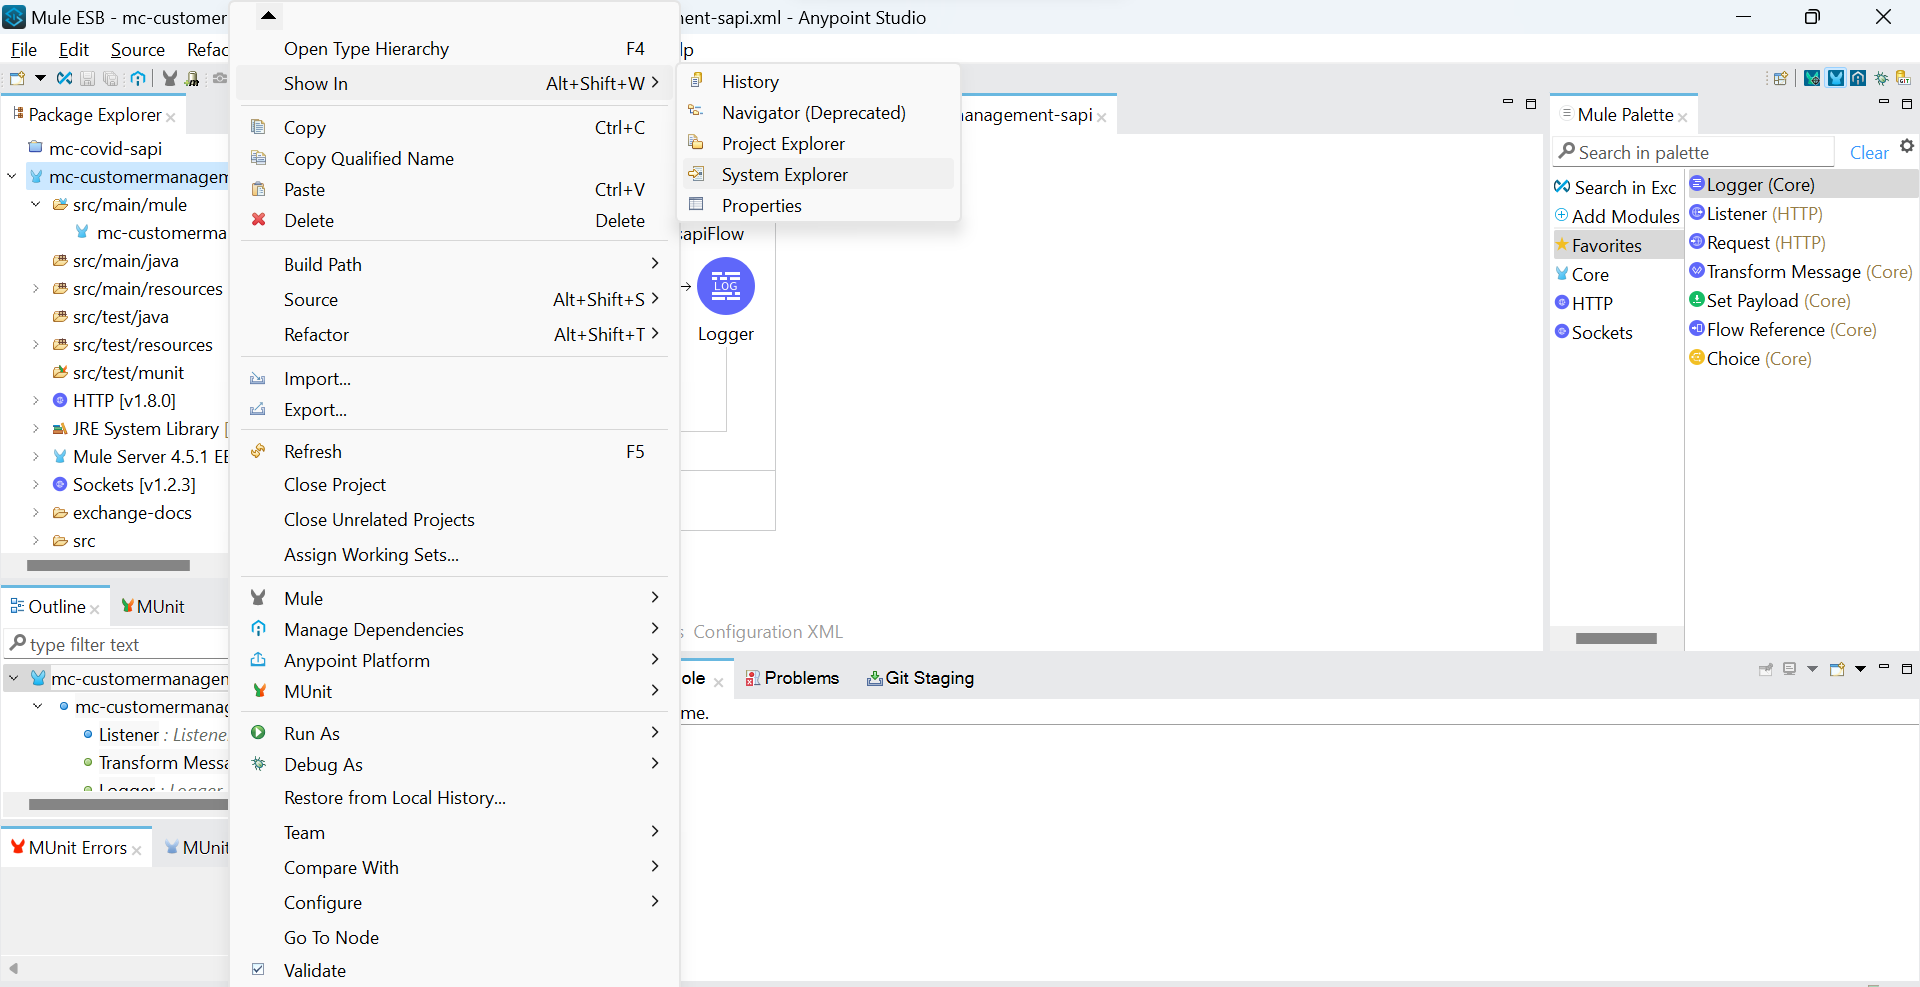
It will redirect you to the project location. Open the project and copy all the files within it.
Step: - 9
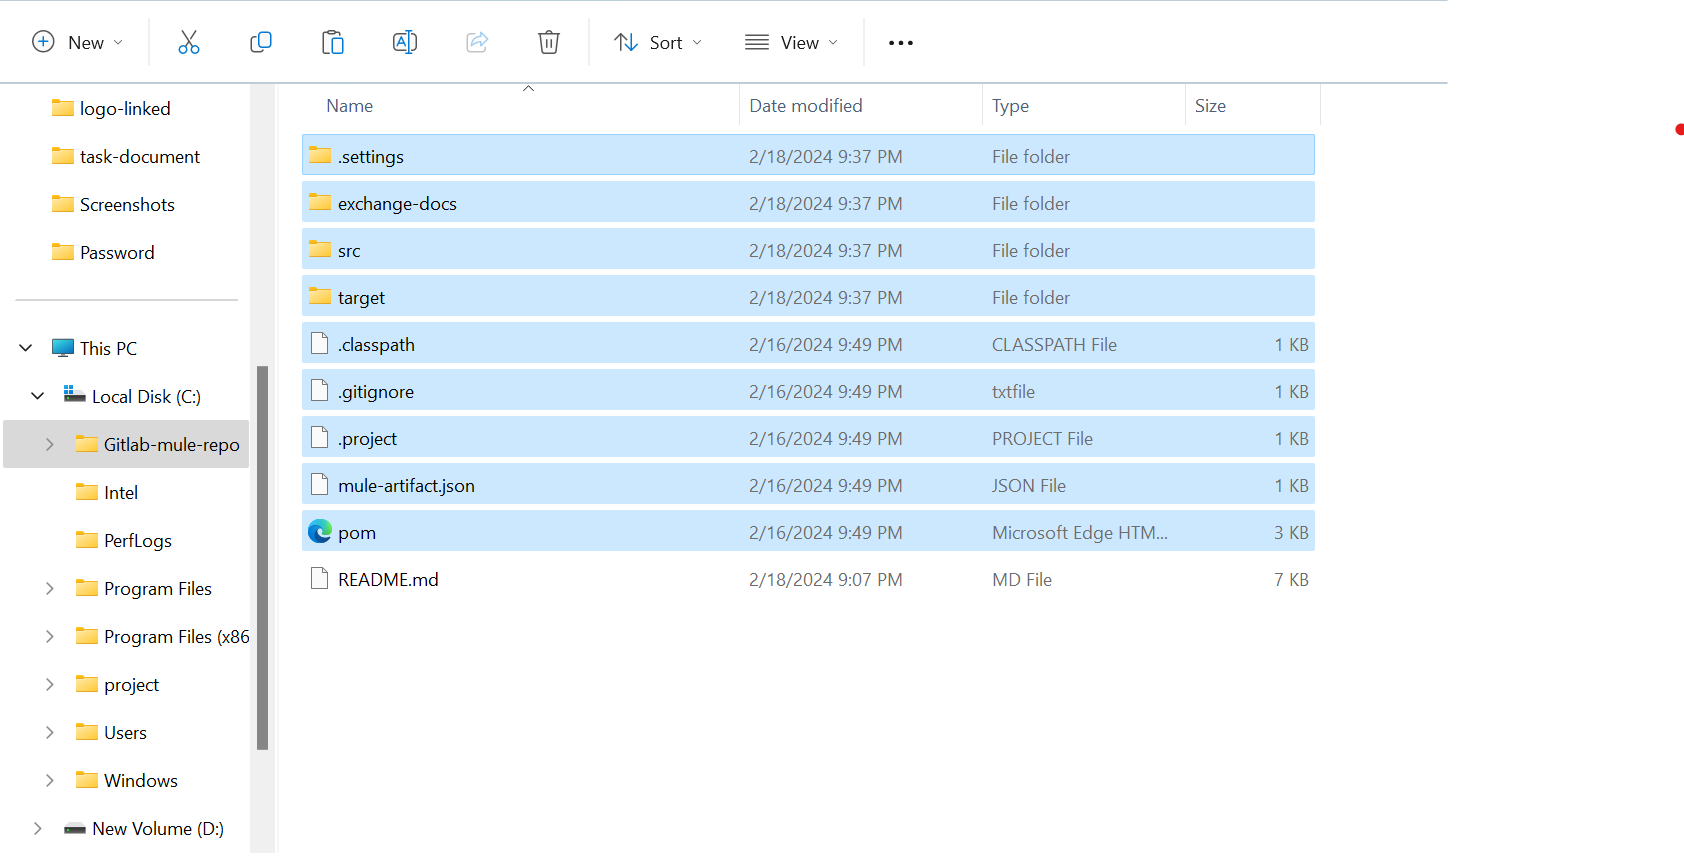
Paste the copied file into the gitlab-mule-repo.
Step: - 10
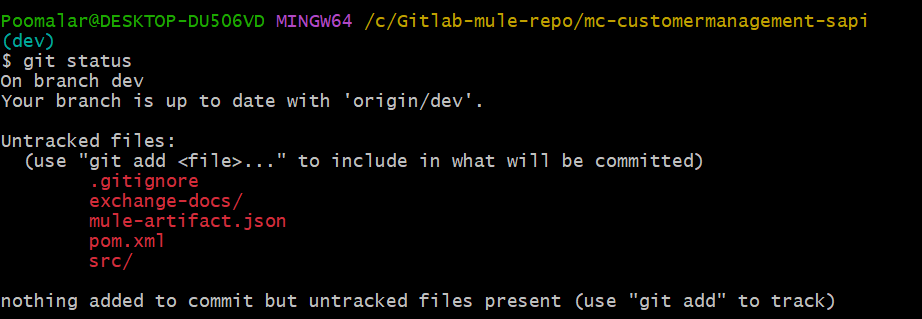
git status
The git status command displays the status of the working directory and the staging area. It lists all the files that have been modified since the last commit, files that are staged for commit, and files that are untracked.
Step: - 11
git add *
In Git, executing git add * is a command that adds one or more files to the staging area, preparing them for inclusion in the next commit.

Step: - 12
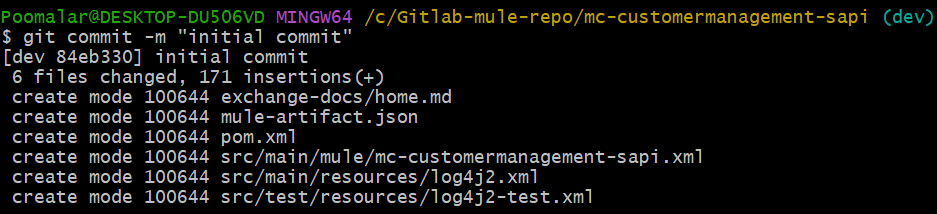
git commit
Once the files or changes have been staged, we are prepared to commit them to our repository. This can be accomplished by using the command git commit -m "custom message".
Step: - 13
git push
The git push command is utilized to upload the content of a local repository to a remote repository. This action transfers commits from your local repository to a designated remote repository.

Once pushed, you can observe the changes in GitLab.
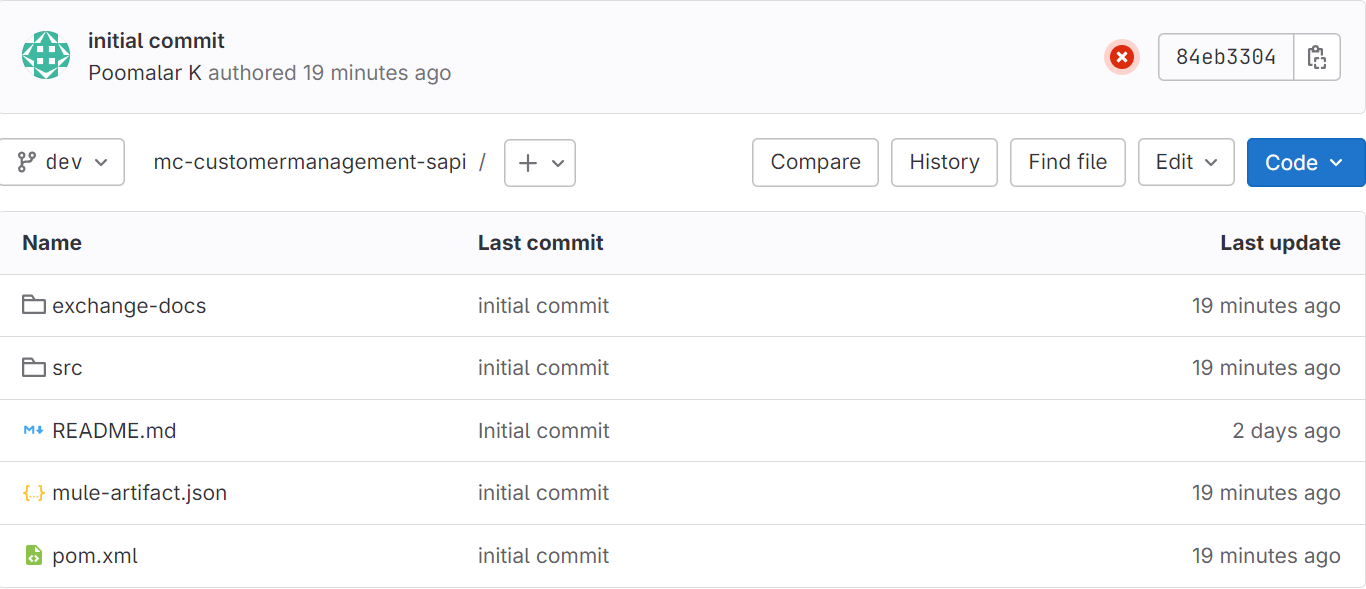
Importing a project from GitLab to Mule Studio
Step: - 1
To obtain the project URL from GitLab, navigate to the top right corner and click on the "Code" option. From there, copy the HTTP URL provided.
Step: - 2
To access Git Bash, right-click on the project directory and select "Open Git Bash here". This will open the command prompt.
Step: - 3
git clone
Usage: git clone [url]
This command is used to clone a repository from an existing URL. Paste the URL copied from GitLab.
Now, the project has been imported into the gitlab-mule-repo.

Step: - 4
Open Mule Studio, right-click on the project, and select "Import."

Then, choose the option "Anypoint Studio Project from File System" and click "Next."

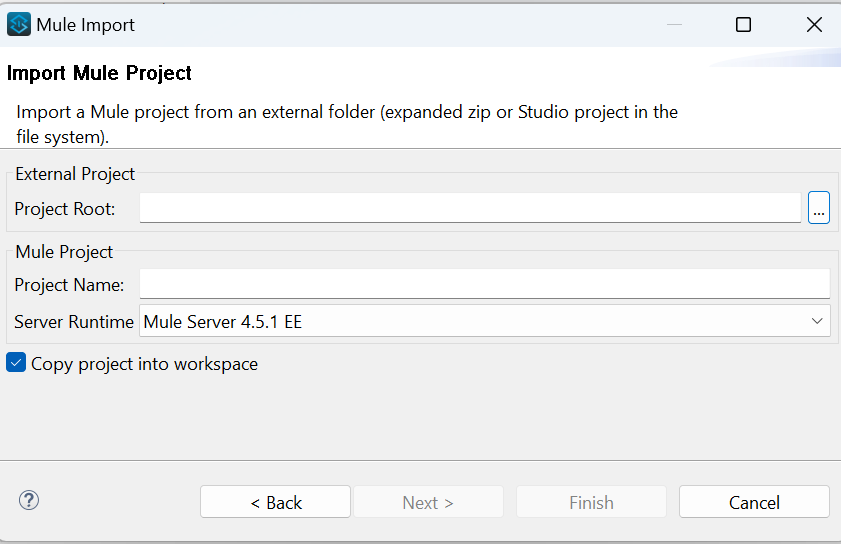
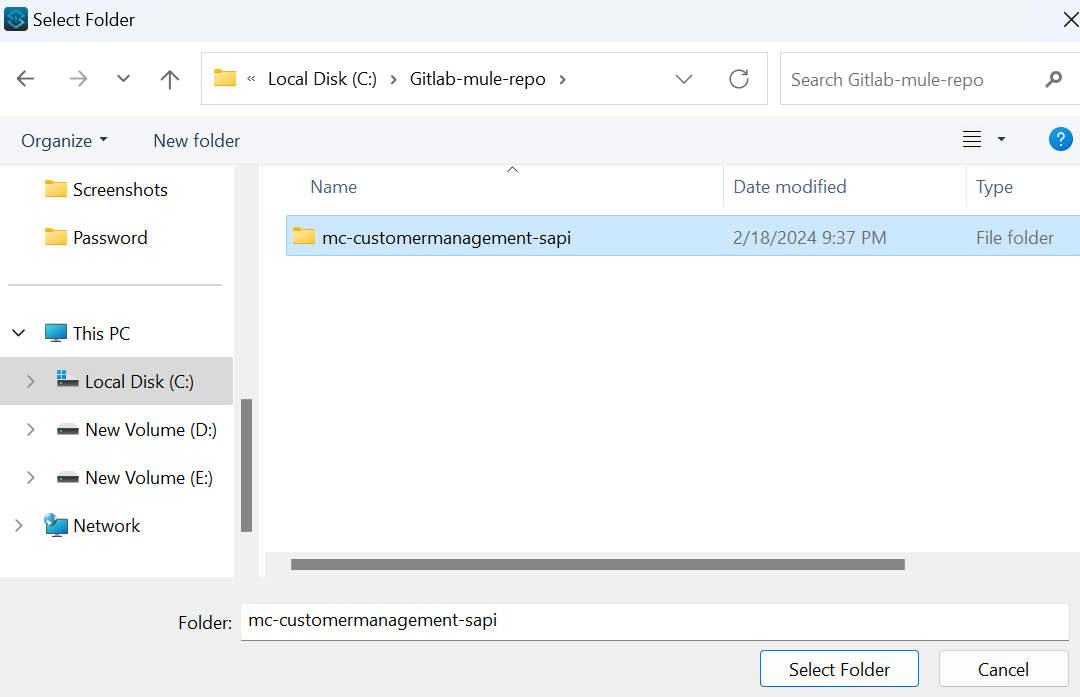
Select the gitlab-mule-repo and choose the project cloned from GitLab, referring to Step 1 to proceed.
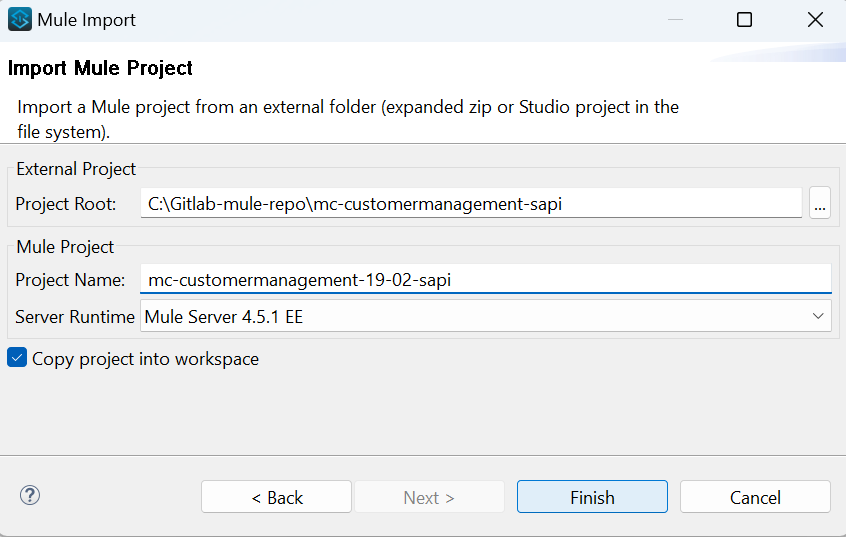
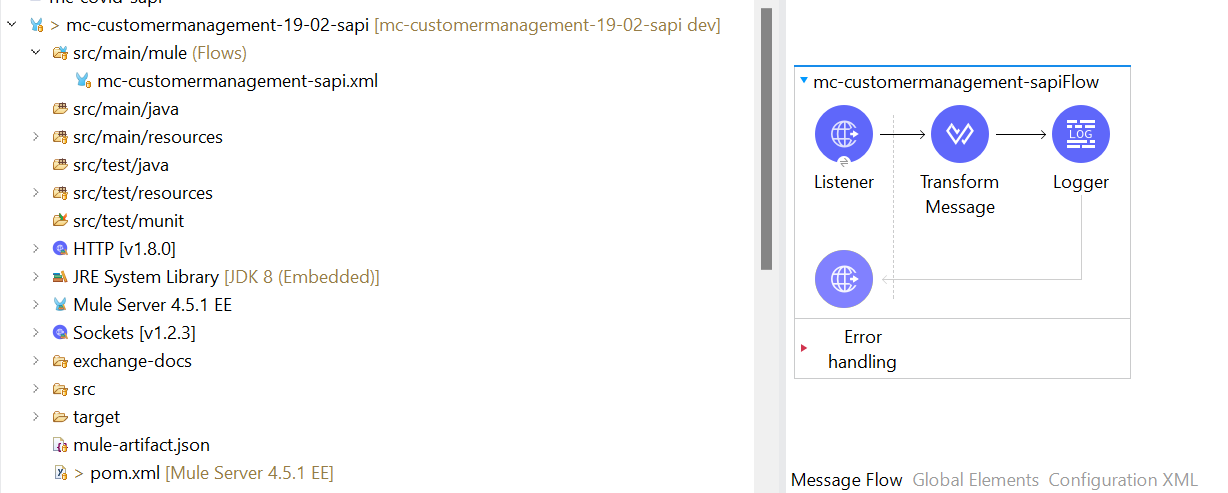
The cloned project has been successfully imported into the studio.
Conclusion
In conclusion, integrating GitLab with MuleSoft provides a seamless workflow for managing Mule projects. By leveraging Git commands and Mule Studio's import capabilities, developers can efficiently collaborate, track changes and deploy their projects with ease.
From cloning repositories to importing projects into Mule Studio, the process ensures version control and streamlines project management. With these steps, developers can harness the power of GitLab and MuleSoft to enhance productivity and facilitate smooth development cycles. Embracing these practices empowers teams to build and deploy Mule applications with confidence, driving innovation and accelerating digital transformation initiatives.