Simplifying Maven Builds: Adding Custom Dependencies Made Simple

Maven is an essential tool for managing project dependencies and building Java applications. It simplifies the process of incorporating external libraries and ensuring that all necessary components are included in the final build. However, there are times when developers need to add custom jars or third-party jars that are not available in the Maven remote repository. This can be a challenging task, especially for those new to Maven.
Traditionally, developers might manually add these jars to their projects, but this approach can lead to several issues, such as inconsistencies and difficulties in maintaining the project. Instead, Maven provides a more efficient way to handle custom jars by allowing developers to install these jars into the local repository. By doing so, the custom jars can be referenced in the pom.xml file, just like any other dependency, streamlining the build process and ensuring that all dependencies are managed consistently.
In this guide, we will explore the process of adding custom jars to your Maven local repository and configuring them as dependencies in your pom.xml. We will also discuss best practices for managing these dependencies to ensure your builds are reliable and maintainable. Whether you are dealing with custom libraries or third-party jars not available in the Maven central repository, this approach will help you keep your project organized and your build process smooth.
We may need to add custom jars or third-party jars that are not available in the Maven remote repository. Instead of manually adding these jars to the project, we can specify them as dependencies in the pom.xml.
For example, in our sessions, while working with Oracle database calls, we manually configured the ojdbc6.jar in the connector configuration. However, in a real-world scenario, we should avoid this approach. Instead, we should install the custom jar into our Maven local repository (the .m2 folder).
By doing this, we can reference the custom jar in the pom.xml as a dependency. When Maven builds the application, it includes all the dependency jars in the generated deployable archive file. This ensures that the custom jars are also included in the build file.
Maven install command
The below command used to install a jar to local maven(.m2) repository.
"mvn install:install-file -Dfile=<path-to-file> -DgroupId=<group-id> -DartifactId=<artifact-id> -Dversion=<version> -Dpackaging=<packaging>"
If we don't able to remember this command. Go to Chrome and search for Maven install custom jar. And under Maven's Guide, we can see this command.

In this command. We need to provide the file location of the jar file and group ID, artifact ID, version and packaging.
Let's add these details. I have ojdbc6 jar in my software folder. Let's copy the path of the jar, including the Name (C:\Softwares_Mule\ojdbc6-11.2.0.2.0.jar). Then we can provide group ID as (com.oracle) likewise ArtifactId is jar name (ojdbc6) and the version as jar version (11.2.0.2.0) and packaging we can give it as oracle.
<path-to-file> as "C:\Softwares_Mule\ojdbc6-11.2.0.2.0.jar"
<group-id> as "com.oracle"
<artifact-id> as "ojdbc6"
<version> as "11.2.0.2.0"
<packaging> as "oracle"
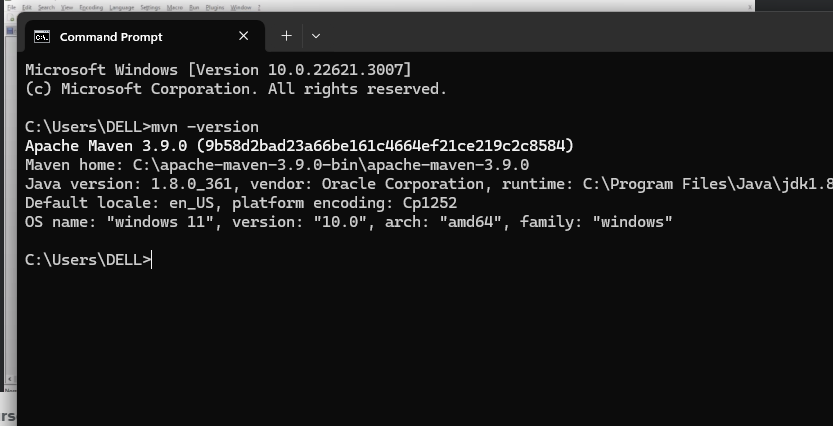
Let's execute this command before executing this command. We need to understand how my command prompt aware of Maven MVN command. while mule installation setup, we should have installed maven and configured environment variable for Maven so that we can be able to make use of Maven command.
Use mvn -version in command prompt for know your maven version.it provides which maven we installed. That means we are able to use MVN command after installation of Maven and setting up the environment variables.
Before executing this (own custom jar) command, let's go to local repository. Under users username under dot m2 (.m2) repository under com folder (C:\Users\DELL.m2\repository\com). Do we have Oracle?
No, we do not have Oracle related jars here.
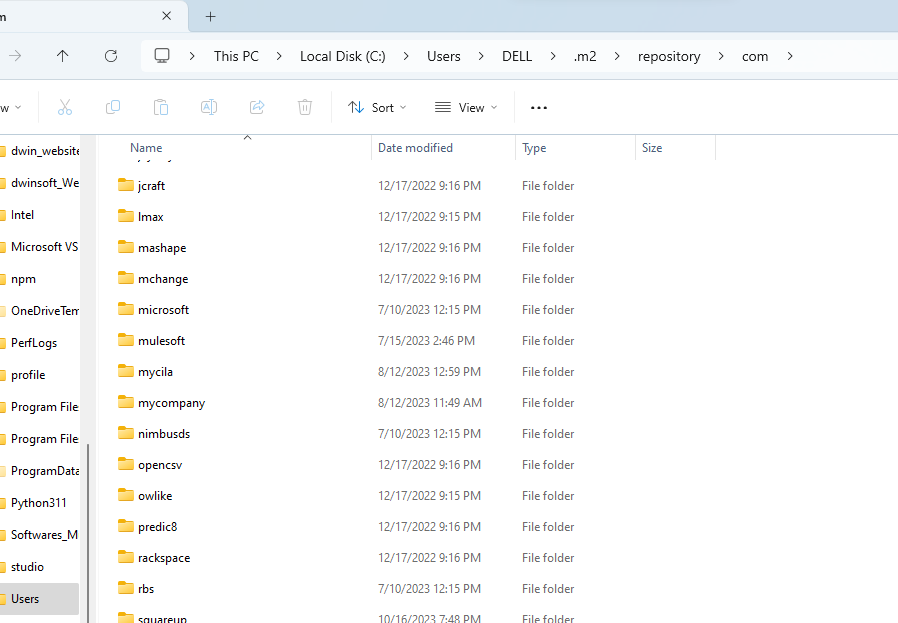
After executing custom dependency jar command, the jar will be added to this repository.
Here, copy the command. Go to command prompt and paste it. Click on Enter. If it installed successfully, we could see build success. That means the jar file added.

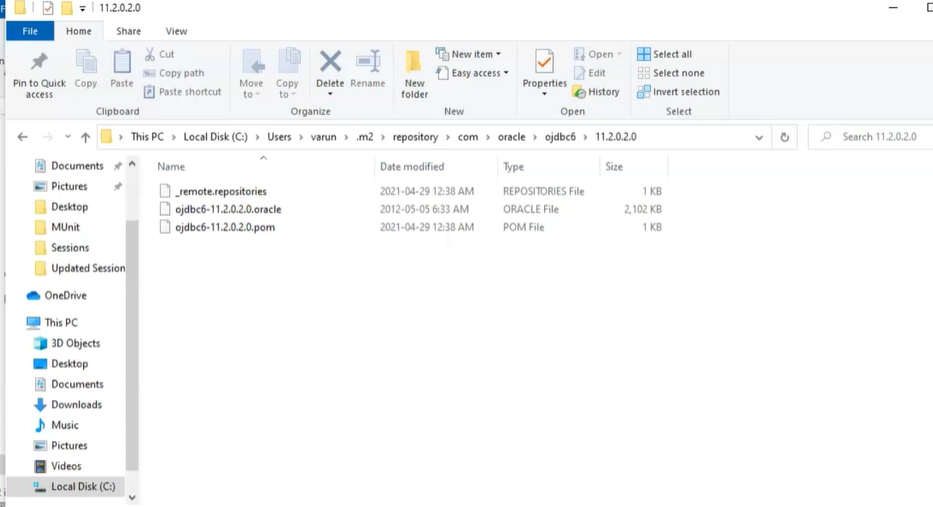
Now let's go to Repository location and we can see Oracle now and ojdbc6 and the jar that we installed.
Now we need to form the dependency to add it in the pom.xml. Let's go to Any point studio from Pom.xml. We can copy any one of the dependencies.
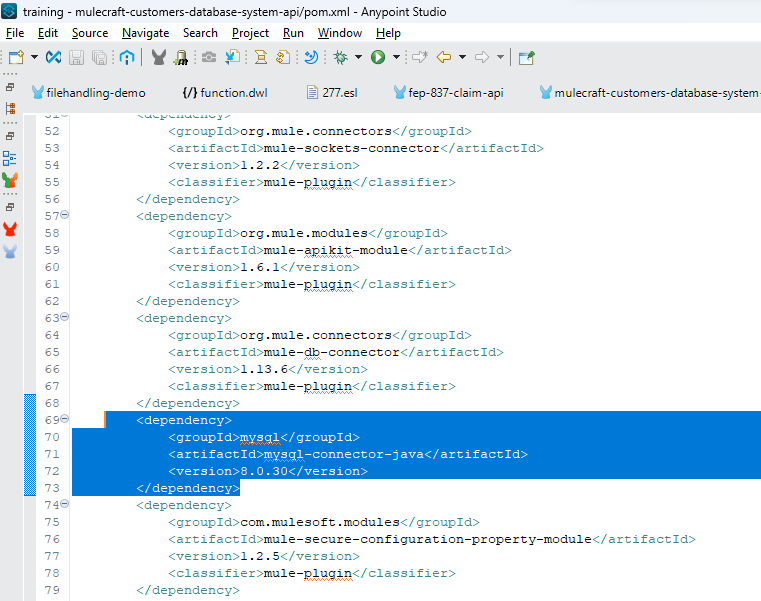
We have to change the groupId, artifactId and version as what we provided above the code just added.
<dependency>
		<groupId>com.oracle</groupId>
		<artifactId>ojdbc6</artifactId>
		<version>11.2.0.2.0</version>
	</dependency>
Let's go pom.xml and put in the last and save it. Now it will download ojdbc6 from local repository to the project. This way we add custom jars into pom.xml by installing.
In conclusion, integrating custom dependencies into Maven projects is a crucial aspect of software development, particularly when dealing with proprietary or third-party libraries not readily available in the Maven remote repository. By leveraging Maven's capabilities and the "mvn install" command, developers can seamlessly incorporate custom jars into their projects.
This process involves installing the custom jar into the local Maven repository (.m2 folder) using specific details such as group ID, artifact ID, version, and packaging. Once installed, the custom jar can be referenced in the project's Pom.xml file as a dependency, ensuring that it is included in the build process and enabling efficient management of project dependencies.
This approach not only streamlines development workflows but also promotes code reusability and enhances project scalability, making it a fundamental practice for Maven-based development environments.